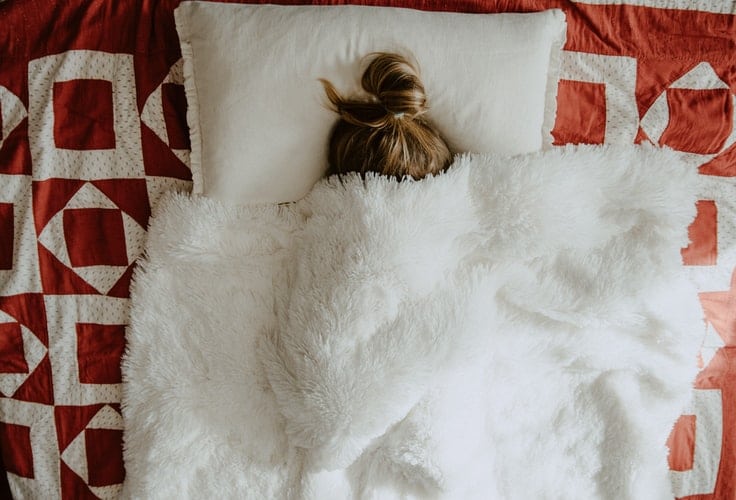
For home upgrades, it would be nice if you learn how to make a ruffled pillow. It’s easy on the budget and adds beauty to your space.

What are the Benefits of Using a Pillow?
Before you start jazzing up your pillows with ruffles, let’s take a look at some of the best benefits of using a pillow.
It helps keep your spine well-aligned
Did you know that your neck is meant to curve slightly forward in order to support the weight of your head when you’re assuming an upright position? When you’re in a resting position, it’s extremely important to keep this curve maintained.
Without a pillow to keep your spine and neck in natural alignment, you would find yourself struggling with a neck kink as soon as you wake up in the morning. The last thing you want is to experience muscle strain on your shoulders and on the back of your neck.
It helps prevent snoring
Another wonderful benefit of using a pillow that’s not too low or too high is that it helps prevent snoring and hindering your sleep by keeping your air pipe open and your breathing unobstructed.
It’s adjustable
Depending on your personal preference, you can easily adjust your pillow to help you get a good night’s sleep. Once you’ve adjusted your pillow so that it fits your unique curves as you sleep, you’ll feel well-rested after you wake up the next morning.
A Step-By-Step Guide on How to Make a Ruffled Pillow
Ruffled pillows contribute to the overall styling of your home. And these days, people are becoming so engrossed in simple and easy DIY projects. The idea of creating your own designs for your pillows seems like a fun task, even for amateur home decorators.
One other convincing factor why you should make your own ruffled pillow is the cost. Actually, home decors could turn out to be quite pricey. But with this uncomplicated step-by-step tutorial, making your own ruffled pillow would be a breeze.
Step 1: Have the necessary materials at hand
You need to prepare the following sewing essentials: a pair of scissors, an iron, a marker, some pins, and a sewing machine. You will also be needing some thread, dental floss, and of course, the fabric or cloth of your choice.
Step 2: Create your pillow
Using your chosen material, press it first and cut two rectangular shapes, approximately 17 x 20 inches each. Make sure to stitch around all the sides, but leave about 8 inches open. This would serve as the middle opening of one side, where the pillow goes in.
Next, stuff it with the stuffing that you want. You can get polyfill from any craft or fabric shop. Or if you have an old pillow, you can reuse the stuffing from that one. The less expense on your part, the better. After inserting the stuffing, sew the opening shut.
Step 3: Make the ruffle
As in the pillow, press the fabric you will be making the ruffle with. Then rotary cut a strip measuring 7 inches, twice the diameter of your pillow. If it measures 17 x 20 inches, then it will be 17 + 17 + 20 + 20, totaling 74 inches.
The ruffle strip will then measure about 7” x 148”, more or less. Then, stitch together 2 pieces of 7-inch strips with a ¼ inch seam. Be careful not to leave any raw edges. So with the seam pressed open, do a ½” on each strip end to finish the edges of your ruffle.
Step 4: Clean your edges
The next step involves folding the length of your strips in half. The ruffles will now be 3.5 inches wide. Then make use of a serger, or you can baste your edges to make them clean. Do this after folding and pressing the wrong sides of your fabric together.
Step 5: Gather the ruffle
You may use your waxed dental floss to gather as much ruffle as you need. This works better than the gathering foot on your sewing machine. Put the floss just over the unfinished edge of your fabric.
You can choose either zigzag or basting stitches over your dental floss to gather the ruffle. Go for some high-quality thread that holds when you collect the fabric for the ruffle. The floss should also be within the stitches you make.
Step 6: Work on the pillow fabric
Have your pillow fabric ready, 3 pieces of it measuring 17” x 20”. Pull the floss from each end of your strip to create your ruffle, matching the length of your pillow. The waxed dental floss makes this process smooth.
Then pin the ruffle’s raw edge to your pillow fabric on the right side. Start from the center of your pillow, not at the corner. Be careful that you do not accidentally include the ruffle when stitching at the sides.
Step 7: Do the finishing touches
It’s time to sew the ruffle onto the front of the pillow using a ½” seam as your allowance. Keep the ruffles pinned and pulled at the corners throughout this last step. Use your sewing machine to finish with the pillow ruffles up. Make some adjustments as you go.
Conclusion
Now that you know how to make a ruffled pillow, start putting your home affairs in order. It’s a simple matter of mixing and matching the fabrics to create your own ruffled design. More importantly, it’s a good idea to be hands-on with your home decorating project.
