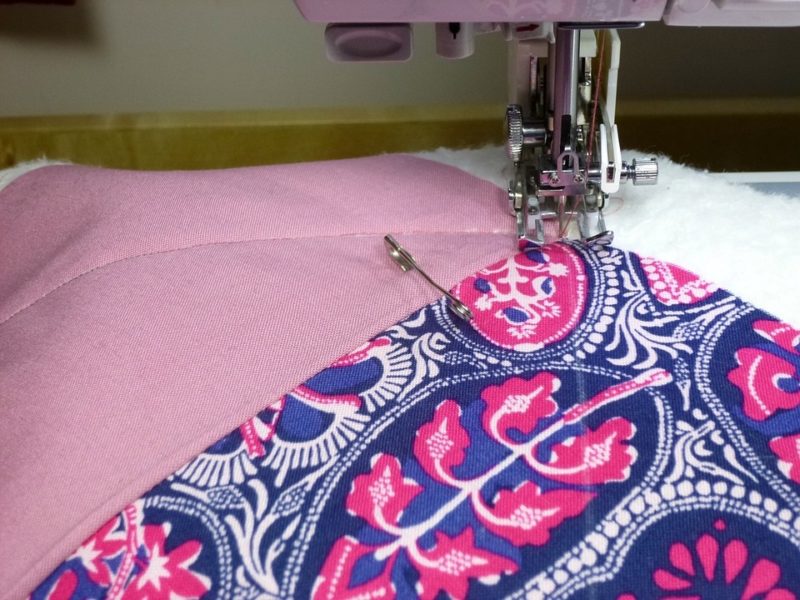
If you want to learn how to make a puff quilt with a sewing machine, try this easy-to-follow three-step guide. You’ll start with making the pieces, and then we’ll share some tips with stuffing to get the perfect puff quilt. And as a bonus, you will learn how to finish this type of quilt.
Is it your first time doing machine quilting? Try reading our tutorial on how to sew a quilt with a sewing machine. We’ve shared some secrets to help newbies with quilting.

How To Make A Puff Quilt With Sewing Machine Easily
Step 1. Prepare the materials
- Decide on the sizes of the squares that will make up the puffs of the quilt
- Cut your fabric with a rotary cutter to ensure neat and precise squares
- A good size to start is 5 inches for each puff that will make up the quilt’s top layer
- Cut smaller squares to pair underneath the squares you made; if you made 5-inch top puff squares, cut 4-inch bottom puff squares
- Use stable fabrics for the bottom squares and something with some stretch to them for the top squares to give the puffs structure
Step 2. Sew the quilt together
- Make a tiny pleat in the middle of the 5-inch squares
- Instead of pinning the puff squares together, make a stitch an inch in size, do the pleat, align the other end of the square, and then sew
- Cut a small slit in the center of the 4-inch squares and sew all the sides together
- Align the puffs in rows and sew them together with half an inch of seam allowance
- By making the quilt panel before stuffing, you can ensure that each puff are equally stuffed
Step 3. Stuff the quilt
- Turn over the resulting panel and stuff them with polyester fiberfill via the slit on the 4-inch squares
- There are other techniques to make a puff quilt, but most can be tricky since you have to sew the squares together with the filling getting in the way
- Fill the squares to your liking and then close the slits with your preferred stitches
- Finish by binding your quilt
- Prepare and cut the back of the quilt according to what the resulting panel size will be when you combine the squares but add two inches of allowance all around
- Attach the binding to the quilt with the sewing machine set to short stitch length but wide zigzag stitch
How Much Fabric Do I Need For A Puff Quilt?
The yardage of fabric you’ll need for a puff quilt will depend on the quilt size divided by the squares that will make up the panel. Use 5-inch squares for the puffs and 4-inch squares underneath. To give you a quick number, you’ll need 153 squares for a crib-size quilt measuring 27 by 52 inches, while a full-size quilt measuring 54 by 75 inches will use 540 squares.
What about the amount of filling that you’ll need for a puff quilt? If you use a one and a half yard of top fabric, expect to need a yard each for the bottom and backing fabric. With these numbers, you can consume ¼ of a 32-ounce polyester fiberfill bag.
What fabric to use for puff quilts
You will need three fabrics when making a puff quilt. The one on the top can be a material like Minky fabric, while the back for the puffs should be something stiff like linen. And as for the backing, you can also use a Minky fabric or a similar type of material.
How Do You Finish A Bubble Quilt?
- Add batting to the constructed quilt to make it thicker
- Use the same top fabric as edging and covering for the back of the quilt
- Sew fabric strips to the edges
- Sew the center of the quilt with a line to secure the batting in place
- Add a ribbon or satin fabric to the quilt sides
- Tack the intersections between every two puffs for added security
Are Puff Quilts Comfortable?
Puff quilt, also known as bubble quilt or biscuit quilt, is the most comfortable quilt. It’s even a popular nursery gift because of its plush feel. Unlike a traditional quilt where you have a wadding between the top and backing fabric, you’ll be stuffing every quilt block or puff and then sewing them together.
The result is a soft and plush quilt that is perfect for adding warmth during cold weather or coziness for resting at the end of the day. You can also improve the overall feel of your quilt, depending on the fabric you’ll choose for the top and bottom. And, of course, the sewer can stuff each square accordingly to achieve the loft they find comfortable.
Do you own a Brother sewing machine? You can also use the brand’s special attachment and do a different quilting style. Read how to free motion quilt on a Brother sewing machine.
Conclusion
And that’s it! We just learned how to make a puff quilt with sewing machine, and discovered a secret to make it easier. You’ll make the panel first and then stuff each square so the filling won’t get in the way when sewing.
You can also finish the puff quilt with edging and tacking optionally. We hope this tutorial was easy to follow; leave us a comment if you have any questions.
