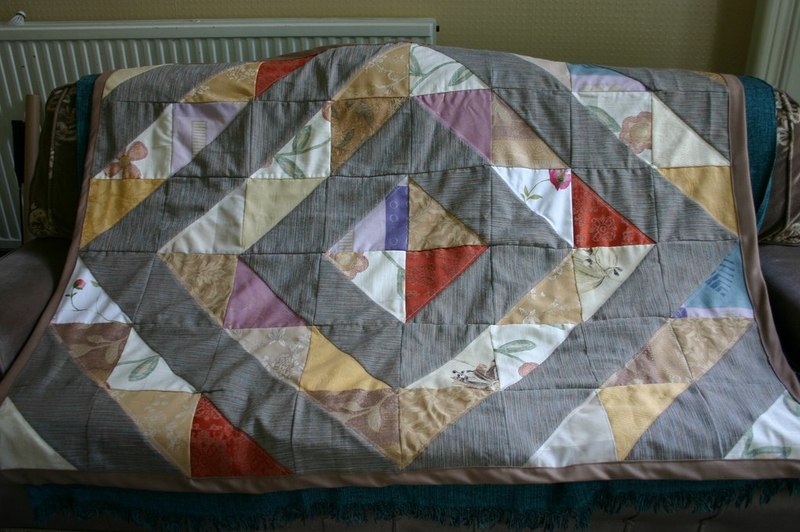
There are all sorts of blankets nowadays, and one thing you can learn is how to make a puff blanket from scratch.

Unlike other blankets, puff blankets give off an adorable charm with just their name so let’s try and discover what’s so special about them and then create one.
What Are Puff Blankets?
Puff blankets are more commonly known as puff quilts or biscuit quilts.
They look almost exactly like biscuits with their top surface filled with protruding spots that look like baked puff balls.
Puff blankets are usually made using randomly colored fabrics and used to protect infants who love playing on the floor.
They’re also referred to as quilts since they are stuffed with materials that will make the top layer pop out, covered with another layer of fabric at the bottom.
Making puff blankets uses a different process compared to traditional quilting and here we’ll share with you some steps on how you can make it.
Steps On How To Make A Puff Blanket
Step #1. Gather and prepare all the materials
To make an average size puff blanket, you’ll need around 250 pieces of puff packs.
A single puff pack would require one 5″ by 5″ fabric, a 4″ by 4″ fabric, a 3″ by 3″ polyfill, a needle and some thread.
It would be easier if you’re using a sewing machine but if you don’t have one, you can always sew it by hand which would take longer to finish.
You can use a variety of fabric designs for the top cover (4″ by 4″) and a single fabric for the bottom cover (5″ by 5″).
This should make a blanket that combines creativity and standards. The bottom cover doesn’t need much concern since you’ll cover it up later.
Cut all the square fabrics using a sharp scissor and a measurement board.
Though you can measure the covers one by one with a ruler, it would take too long to finish all the 250 pieces.
Cutting directly through the board should shorten the process.
Also, divide your polyfills accordingly. They don’t need to measure exactly 3″ by 3″ — an approximate will do.
This dimension will allow you to use just enough filling for a single pack and still be able to sew them together later on.
Using graphing paper, draw a model of your blanket so that you can see how much of each design or color you need to do and how you’ll position them later on.
Step #2. Sew each and every puff pack
To make a single puff pack, lay the bottom and top cover with the wrong sides together.
Sew about half-inch length from one corner, almost 1 cm from the fabric tip, of one edge while holding the other corner together.
Fold the excess into a pleat and sew to the next corner. Do this sewing and pleating for two other edges.
After which, place one ball of polyfill inside the pack and seal the fourth edge through the same pleating and sewing.
When the puff pack is already secure, adjust the fillings so it’s somehow evenly distributed on the pack.
Set the finished pack aside.
Make as many puff packs as the tally in your graphed model for each design using the same process.
It’s best to do the packs per design then group them accordingly so it’s easier to assemble later on.
Step #3. Connect the puff packs into rows
After finishing all the packs, arrange them according to the graphed model.
To connect one puff pack to another, lay an edge of the first pack on top of an edge of the second and run them through with a stitch.
If you find this awkward, you can pin or clip one edge first before sewing.
If you sew the first and second puff pack from left to right, the second and third should be sewn from right to left using the same technique.
Connect all the puff packs by row or column in this manner.
Step #4. Connect all rows or columns together to make the blanket
Lay the first column’s edge on top of the second column’s edge. Hold them together with a pin or clip for every two puff packs.
Pass the two columns to a sewing machine while making sure that packs are aligned on the two columns.
If you started from top to bottom, proceed to the next column from bottom to top.
Finish connecting all the rows and columns to their spots.
After these, sew a fabric the size of the formed puff blanket plus a bit for the border.
Fold the edges of this fabric, smooth side out, then sew it to the back of the puff blanket for protection.
This will be easier if you flipped the blanket first so the marks of the threads go inside the finished blanket.
Conclusion
There are several ways to discover how to make a puff blanket, but the simplest one is to go and try figuring it out yourself.
Following our steps will help you figure out some basics but to make the most unique blanket, you’ll have to listen intently to your creativity.
