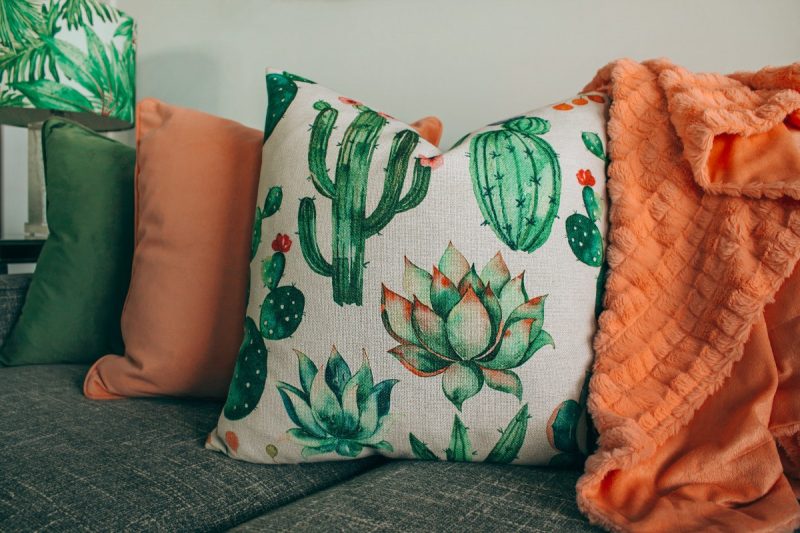
Do you want to know how to make a pillow out of a shirt? If not yet, then you’re just in the right place. All of the steps are easy to execute; I’m sure you can pass every step in a breeze.
In this guide, you don’t have to create an overlapping back or sew a zipper. All you have to do is to choose a shirt that comes with buttons; these built-in buttons will serve as a closure for your DIY pillow.

Through this, you can maximize the use of your old shirt.
Certainly, it will look like a new possession. Not only that, but you can still use the remaining fabric for your little sewing projects; small pouches or pincushions, just name it!
Things Needed For Your DIY Pillow
- Of course, a button-up shirt
- Thread
- Pillow form
- Pencil
- Ruler
- Cutting mat
- Rotary cutter
- Pins
- Sewing machine
Steps To Make A Pillow Out Of A Shirt
So, how to make a pillow out of a shirt?
If you’ve already prepared the things you need, it’s time for you to start making your DIY pillow.
Just follow the steps below!
Step #1. Choosing a shirt
Suppose you’ve already chosen a shirt, then good for you! If not yet, then opt for an adult shirt. It’s because it’s straightforward to execute this process when you work with larger shirts.
Choose one with more fabric; you’re sure to have a lot of selections for cutting and placement.
Also, using a larger shirt could give you the chance to employ a huge pillow form. For example, you can have a men’s large shirt to make a 14 inches pillow.
Anyway, it’s advisable to use one without shaping or darts. Why so? They’re not helpful when it comes to the fitting of the cover on your pillow.
Step #2. Measuring and marking the shirt
Take note of this:
Your pillow cover’s front and back should be bigger than the pillow form by one inch. It only means that, for instance, if you have a 14-inch square pillow, you need to have a 15 by 15 inches fabric.
Now, get a ruler and use it to visualize cutting the front piece of your fully buttoned shirt. If it comes with a pocket, make sure that you place it in front, while an inch of it at the side.
Try to place the button placket in the center. But take note that this may be dependent on your pillow’s size. If it’s not possible, you can always try to place it off-center.
See to it that you leave at least an inch from the buttons (both at the top and bottom). Don’t forget to mark before you cut out.
Step #3. Cutting the front and back sides
Yes, you can definitely cut the back and front ends at the same time. But then, it will end up crooked or uneven, for sure.
That’s why it’s best to cut the sides. In this way, the shirt is left open even if the front button is still intact.
In cutting the front side, use the rotary cutter; have a ruler to make a fair cut. Do the same at the back.
Here’s a note:
If you have a patterned or striped shirt, you can cut the back separately; it can help match both sides.
Step #4. Sewing the cover
It’s time to pin the front and back sides of the pillow on the right side. Keep the alignment of the layer. Also, the button placket should be pinned.
Now, you should sew the four sides; make sure to give a half-inch of the seam allowance.
To give a better reinforcement, do a backstitch up the button plackets. Do this at the top and bottom. So you can lessen the bulk, try trimming the corners.
Step #5. Inserting the pillow form
For the last step, unbutton a button or two. Grab the button placket, then reach through it.
Position the cover right side out. Make sure the corners of the cover are in shape by poking them.
Fix any wrinkles there are; you can do so by pressing it.
Now, you can unbutton the remaining buttons. Sliding the pillow inside is the next thing that you should do.
And finally, you can rebutton the cover. And tsaran! You have a new pillow!
It’s A Wrap!
There is no need to throw your old shirts. You can maximize its use, and you can make a cute pillow out of it!
I guess there’s nothing hard in any of the steps above. So, you don’t have more worries about making your own pillow.
Anyway, try to make one for yourself. More excitingly, you can make pillows to give as gifts to your loved ones.
Now that you’ve learned how to make a pillow out of a shirt, we hope that you enjoyed doing so.
Did you enjoy the steps?
