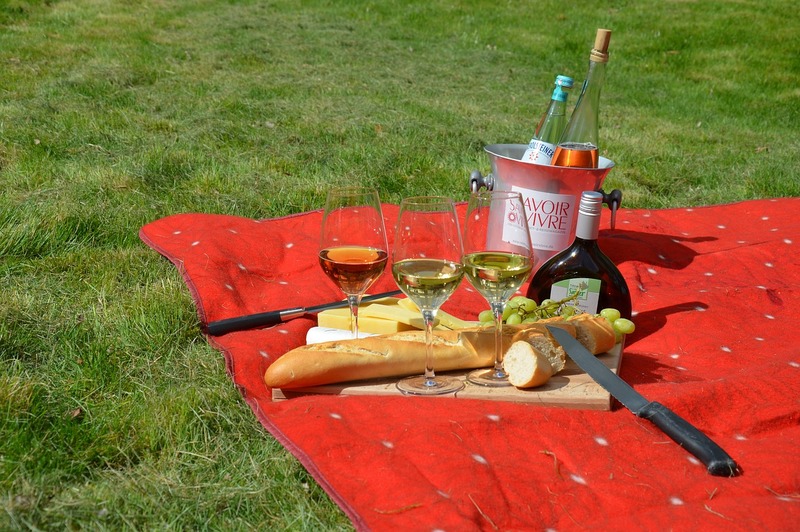
Learning how to make a picnic blanket is as easy as four steps, with the first step being the discovery of how such a blanket is different from the others.

Let’s talk about those differences and each of the steps, one at a time.
Picnic blankets are usually used on the beach or out in parks.
These blankets are now made to be travel-friendly so that you are provided with maximum comfort even before you reach your destination.
Though their name already suggests their given purpose, picnic blankets can extend this into becoming a flooring material for your car to even walling for greenhouses.
Picnic blankets are innovating to be more comfy, waterproof, and resilient, capable of all the consumer needs.
Steps On How To Make A Picnic Blanket
Buying things online has become prominent in the previous year, but many of us are looking into learning new skills and creating ourselves.
If you’re one of the people who became total fans of doing DIYs, we’ll present here the steps in making your picnic blanket.
Step #1. Choose and collect your materials
Before you go off buying materials, it’d be advisable to research what materials are suitable for your needs.
You can match up material’s, especially the textile, characteristic with the traits you’re looking for in a blanket.
For example, you can line it inside with polyester to provide both wind and water resistance.
Along with listing and comparing the characteristics, you can create a list of all the materials, including:
- The main cloth
- Needle and threads
- A few pins
- Scissor
- Ruler
You can opt to use a few layers of fabric for your blanket. You must note, though, that creating more layers will make it heavier and bulkier.
More layers also mean that it’ll be tougher to pierce through when you’re sewing.
Step #2. Cut the specific size of fabrics
The next thing you need to do is decide on the size and shape of your picnic blanket. Measure it out on your fabrics using the ruler, then cut it out with your scissor.
It’s best to use a very sharp scissor as a blunt one will damage your fabric.
Cut all your fabrics with a bit of allowance for folding and edging later on. If you have a middle layer, you can use that as the basis for the upper and lower layers’ size.
You can adjust their sizes by pinning them together on a table, allowing you to make sure that your borders will be straight.
Step #3. Sew the blanket edges
Arrange all your fabrics according to the texture and functionality you desire, then fold the edges of the outer layers inward for at least one centimeter.
These folds will help you have a seamless edge later on.
If you have multiple layers, make sure you sew on the inside so that it won’t appear on the finished product’s face.
Leave one foot of the fabric edge unpinned for flipping.
Pin all the border edges and corners of all the fabric layers together. You can attach the pins every one and a half inch to make it easier for you to sew.
Use a backstitch or saddle stitch to sew along the edges.
Step #4. Flip the blanket
After sewing through all four edges, flip the blanket, so the outside layer is outside.
Sew the one foot left from the outside so that the thread marks remain inside the blanket.
Lock the threads, and you’re done.
What distinguishes picnic blankets from others?
You might be thinking, “Why should I need to get a new blanket just to bring on a picnic?”
It does seem a bit of a hassle and waste of effort to get a blanket for just one event. However, picnic blankets are made to especially stand out in the environments of picnic grounds.
First, picnic blankets are durable against heat and moisture.
If you plan to lay it out on wet grass, common blankets will not protect you from catching the wetness and even dirt from the ground.
Meanwhile, if you’re going to the beach, a picnic blanket will allow the sand to pass through from the top but not from the bottom.
Another thing is getting a large enough blanket. Common blankets are just too bulky to be carried around.
These blankets are also limited to a single purpose. Unlike picnic blankets, they only cover the user.
Picnic blankets are also made to be dust and dirt repellant, making them convenient for you so that you don’t need to wash them too often.
If you need to wash it up, picnic blankets are washable, and most are even suitable for heat drying.
Your blanket’s advantages and disadvantages will depend on what materials and techniques you used to create it.
If you choose to sacrifice quality over price, it shouldn’t come as a surprise if your blanket doesn’t last as long as those who choose otherwise.
Conclusion
Though the steps we shared with you here are on how to make a picnic blanket, these can also be applied to creating other blankets.
The only thing you need to change is the materials you’re going to use. If you’ve learned all of them well, then not only can you create a picnic blanket, but also a lot of other blankets.
