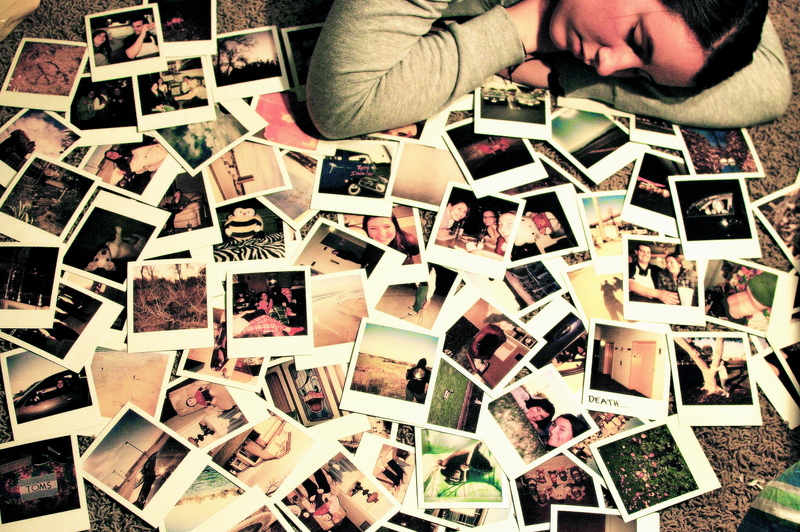
Are you wondering about how to make a photo blanket at home which is supposed to be the best gift of all times on any occasion?

Worry no more because we are going to mention tips that can make your experience exciting and affordable!
Check out this easy and quick five-step guide that could help you in your journey to bring your photos into reality.
We will talk about the easiest way to print, iron, and transfer photos in your blanket.
Continue browsing this article as we teach you how to make a photo blanket at home in 5 easy steps!
How To Make A Photo Blanket At Home
Step #1. Preparation
The first step in designing your photo blanket is deciding the type of fabric you want to use. It could be a smooth fleece, cozy fleece, sherpa fleece, and woven fleece.
The smooth fleece gives quality with a sturdy finish. Meanwhile, cozy fleece renders a soft and lightweight blanket.
Sherpa can be stretchable while woven are generally more durable.
You must also provide other materials such as:
- Scissors
- Transfer paper
- Bond paper
- Computer or Laptop
- Printer
- Iron
You can spread your blanket in a wide area or table where you can see all sides of it when you start assigning photos.
It must be a flat one to perfectly arrange the photos where you want them to be.
Step #2. Printing
The next step is choosing pictures that matter to you the most. Be sure to select those that carry personal memories.
You can put them in a collage or print them out by solo.
You can improve them through several applications before printing them out. Cut the excess paper of the printed photo to have the exact size of the picture only.
You can also cut it with patterns you want them to be such as ellipse, squared, heart, or rectangle.
Step #3. Transferring
This is one of the most impressive parts of the process. Cut out your transfer paper depending on the size of the photo.
Make sure to leave at least 1 inch of excess to guide you when you pull it out after ironing.
Put the printed photos in the blanket based on the design you want it to be. Cover each photo with a transfer paper and prepare your iron.
Step #4. Ironing
You are now two steps closer to bringing your memories to life.
Carefully use the iron and put a lot of pressure into the transfer paper with an upward and downward motion for at least 1-2 minutes.
Let it dry and repeat the same method for the other photos.
You can also cover the transfer paper with a bond paper in the meantime if you are concerned about its temperature.
If you don’t apply pressure, the photos won’t stick to the blanket and you might fail the whole process.
Remember to avoid leaving your iron in the blanket unattended or you will burn it out.
Step #5. Finishing
After letting the photos dry, mindfully lift the excess of the transfer paper and prepare to pull it out slowly.
If you think that other photos are not yet dry, you can apply pressure again just to make sure.
Then, pull the others one by one and enjoy the result of your photo blanket!
How do I clean my photo blanket?
You are maybe troubled about how to keep your blanket fresh, clean, and looking its best.
In washing your photo blanket, you must use a washing machine with moderate settings and minimal detergent without bleaching agents and fabric softeners.
You can wash it with cold or lukewarm water.
Air drying is the safest way to dry your photo blanket because ironed steam or dry cleaning will only melt the photos.
It is not suggested to dry clean the blanket because the photos are more likely to fade.
What can I do with my photo blanket?
A customized photo blanket can be perfect on any occasion.
It can be given as a birthday present or special anniversaries with photos to commemorate the memories you have shared with the person throughout the years.
Photo blankets can also be used as a touching memorial gift to pets in a way to honor them. It is something that can be kept forever and keep warm remembrances for a lifetime.
You can also display your photo blanket at home particularly if you want a collage of your favorite bonding memories you have spent with your families.
Conclusion
Photo blankets are the perfect thing to display or give to your loved ones because of the warmth and comfort they provide while reminiscing unforgettable memories.
However, do you know how to make a photo blanket at home? You can create your own in 5 easy steps by simply printing, cutting, transferring, ironing, and allowing these photos to dry!
You can also use various kinds of fabric for your blanket depending on your preference.
Just make sure to consider the way you must clean it to maintain its freshness and avoid the photos from fading.
