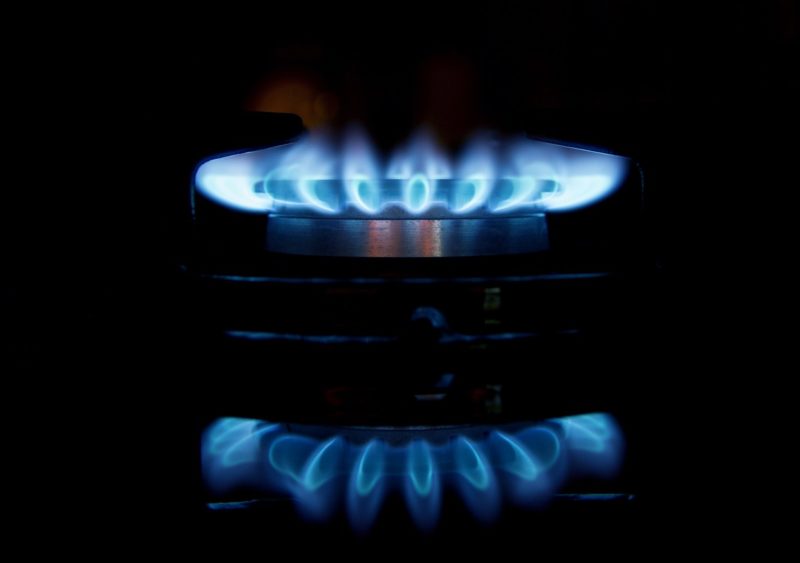
How to make a penny stove? Penny stoves or commonly known as soda or beer can stove, is one of the essential things that you’ll need whenever you’re out for camping. It is a pocket-size and easy-to-carry stove where a penny is used to cover the fuel hole. That is where it has derived its name. Today, we are going to see how to make one.
If you were in a rush going to the camp and forgot your penny stove, it might be a hassle for you to go back and forth. Good thing you’ve seen this article. At least in that way, you’ll know how to make a penny stove using the items you can see around the area. It is necessary to be always ready when camping.

So for today, we will try to look at a better viewpoint about the topic and how we should do it. Along the way, you will learn some crucial lessons and terms that might come in handy anytime, whenever you need them. So without further ado, let us continue discussing the topic in this article to know more about it.
Making A Penny Stove At Home
How to make a penny stove? When camping, it is essential to have a stove as it always depends on the surroundings on how you’ll let the situation work your way. Good thing you’ve come through this. There might be some steps that you’ll to consider:
Step #1. Gathering the needed materials
This section will discuss all the things you need for the project. Since you’re going to a camp, we assume that you already have everything needed to survive for several days. Here below are the following that we will need to make our DIY penny stove. Gather all the materials, and you are good to go on making one:
- Drinks Can
- Sand Paper
- Scissors
- Knife (Any kind will do)
- Markers
- Pliers
- Ruler
- Paper
- Pencil
- Drawing Pin
- Penny
Step #2. Sanding the paint of the can
Now that all the materials have been gathered, it is now time that we start carrying out this process. For this step, we must take off the paint of the can since it can be prone to burn and might cause or start a fire. What you’ll want to do here is sand off the paint using sandpaper. Do not crumple the can.
When sanding, please take note that it is not necessarily needed to sand off all the paint. You could sand off the bottom part since it is the most needed piece to complete our penny stove. Continue on sanding until the color comes off the surface nice and clean. Rinse the cans to eliminate any smells from the contents.
Step #3. Making holes
Where will we need the holes? To simply put it up, this is where the fire will release once it is now done. We figured out ourselves that a minimum of twenty-one holes would do the job. So to start doing this, use a drawing pin to make holes at the bottom part and another hole in the center of the bottom part.
As you are making holes for the bottom part, give space so that the fire would not go out in one area. Position the holes at least five centimeters away from each other to have better results when being used.
You are almost there! Who could have thought that with just simple materials, you could make a stove! Penny stoves are helpful, especially when you are out camping. You can use it to heat your food or to make yourself warm. Learn more about penny stove as you read “Alcohol / Can / Penny Stove.”
Step #4. Preparations and cutting
Mark outlines; the base will be the smallest and will be created from the can with the paint still on; we left the color on because that’ll be the inside can, and the paint will heat up and make a seal with the outside can. Now that the cans have all been marked, we’ll have to go through around it using a sharp knife; any kind will do.
Following the line, make sure that you check every corner and, if possible, wear gloves to avoid rough surfaces of the can from getting you injured. Once done, you’ll need to crimp the edges of the base so it fits. These are all the things you should do to make a penny can stove. Now it’s time to put everything together!
Step #5. Assembly
We are on to our final step, and that is joining the parts together. It may get a little tricky so bear with us. To join both cans together, you’ll have to push the other can that isn’t crimped to the other half of it. Make sure to do it slowly since there still might be sharped edges around the corners of the can.
Once assembled, you can now try it on a stovetop to make sure that it works. Please put it on top of the stove. And make sure that there is a penny on top of the hole. That’ll make the heat go through the side panels or holes. And that’s it! Learn with us as you read another topic about stoves, such as “How to clean stove top elements?” Thank you for reading up to this point!
It’s A Wrap!
Now that we’ve known how to make a penny stove, camping would be more accessible than ever. No more extra heavy tools to carry, just some DIY on the spot, and you’re good to go. Try it yourself to see if it is effective for you. Regardless, you’d want to learn how to make a pellet stove quieter as it might come in handy in the future. That is all.
