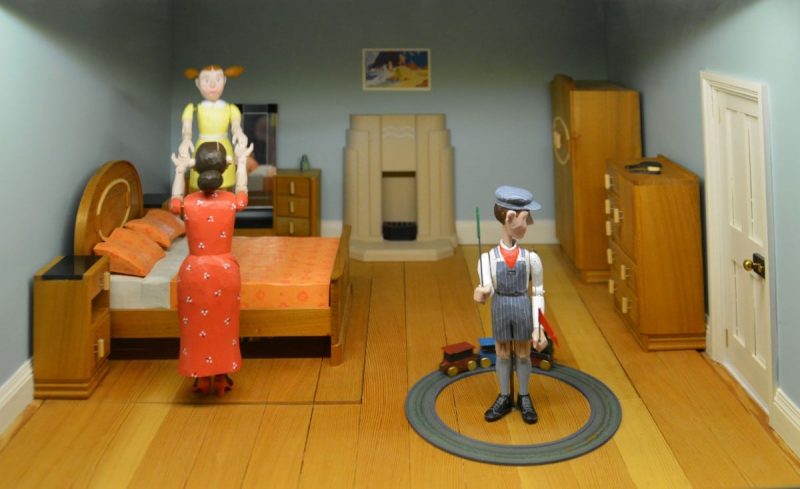
Great news; do you want to know how to make a doll bed mattress with just a few easy steps? Worry no more, because you have come to the right place!
Are you thinking of giving your daughter a custom-made doll mattress for her special day, but you don’t know how to do it?

It is pretty simple. For sure, you will complete this quickly and you can still make cushion for the doll’s benches and chairs.
So needless for you to wait any longer, below is the tutorial in making a doll mattress.
Read and enjoy!
What Supplies Do You Need In Making A Doll Mattress?
There are only a few things that you will need for this. Here is the list:
Material #1. Fabric
Let’s assume that you will be making an 18-inch doll bed.
For this, you will need around 0.90 meters of fabric.
If you are not that good when it comes to sewing – not a problem – make sure to use cotton fabric because it is the most accessible material to sew.
In my case, I utilized a quilting cotton cloth. They typically weigh from medium to light.
But the best thing that I like about this type of fabric is that it can be woven tightly.
This particular fabric is available invevery color options and design you want!
More so, it is readily available at many local stores near you.
Material #2. Stuffing
For stuffing, you can either get foam or polyester.
But do not be concerned if you do not have any stuffing supply. You can use fabric scraps as a substitute.
Although this option will make your doll mattress weigh heavier, it does not require you any budget. Indeed, this is for people who seek a cheap alternative.
All you have to do is just cut some fabric scraps into tiny pieces. Doing so will lessen the lumpiness of the mattress.
Steps To Make A Doll Bed Mattress
After getting your supplies ready, you now have to proceed into properly making the mattress.
How to make a doll bed mattress?
Follow these steps:
Step #1. Measuring the size of the bed
The very first thing that you have to do is to get the measurement of the bed.
Commonly, doll beds measure about 12 inches by 19 inches at their wooden base.
It is important to note that the base measurements are needed and not those of the sides.
That is to ensure that the mattress will snuggly fit inside the frame of the bed.
Step #2. Cutting the fabric
After getting the measurements, cut two pieces of cloth. It should be following the size of the bed’s base.
But remember to add a one-inch allowance all over its seams.
For instance, if the base measures 12 inches by 19 inches, you must cut the cloth into a size of 14 inches by 21 inches.
Step #3. Stitching the sides of the mattress
Align the two pieces of fabric. Make sure to put the right sides together.
Now start stitching around pieces of the doll mattress.
Make sure to put a ¼ inch allowance on its seams, thereby leaving a gap of about three inches on one of its ends.
Leaving the gap at the bed’s end would offer the neatest result, so it is better to do it that way.
Step #4. Box its corners
In boxing the corners of the mattress, you need to press open the seams located in the corners using your finger.
Then, align the bottom and top of the seam.
Put a diagonal mark on the spot, which measures ½ inch.
The main reason why you need to box the mattress corners is to provide it with some height.
You will need to stitch across the corners you recently boxed and then neatly trim the corners straight across.
Step #5. Stuffing the mattress
After completing the sewing part, you now have to turn the material the correct way out. Then, begin stuffing the foam, polyester, or fabric scraps.
In case you will be utilizing polyester to fill your mattress, it would be a good idea to break the stuffing material into smaller tufts.
In doing this, make sure to be gentle and slow. That is to prevent your mattress from being overstuffed.
Also, make sure to stuff enough materials even into its every corner. Doing so will give the mattress a good shape.
Before closing the gap, you would want to try it onto the bed first.
This way ensures that what you just made would sit flatly onto the bed like an actual mattress.
Again, it would help if you were slow and careful in stuffing the mattress.
Although this would take some time, you wouldn’t want to make a lumpy bed for your daughter’s doll.
Step #6. Closing the gap
To finish the mattress, hand stitch the gap.
It’s A Wrap!
Not bad for a doll mattress, right? That is how to make a doll bed mattress. This one, the perfect gift for your child to enjoy.
To level up the challenge, you want to read this and learn how to make your own mattress.
Regardless, that is all.
