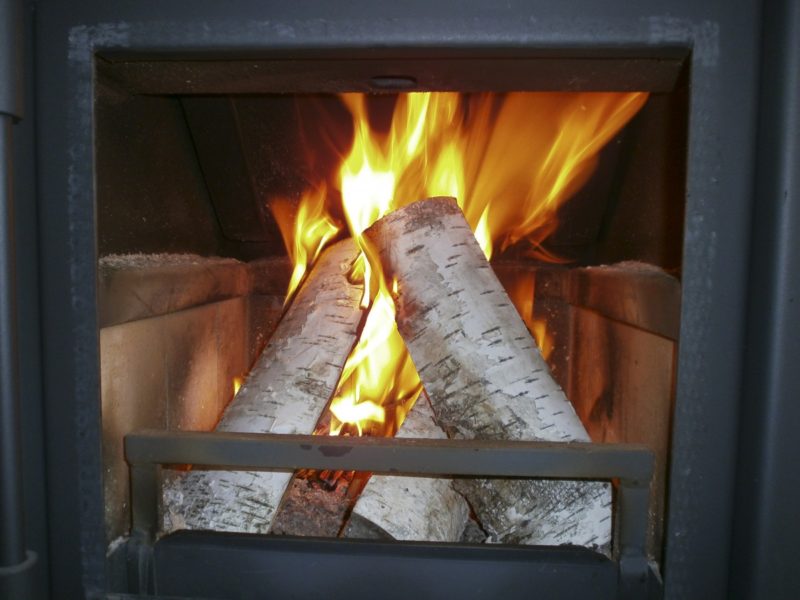
Did you ever wonder how to make a cheap wood stove? Due to many people buying wood stoves in the market, demands have been rising day by day, leading to a price hike, which means some people cannot afford one. Though they want it, it is out of their budget to buy one. It’s a good thing the internet is always available; and with that, let us learns how to make one.
Since the prices of some stoves depend on the brand, most of them are sold at a high price which means only those with enough money can purchase them.
But what happens to those who don’t have one? Well, the answer is simple, and today, we will learn how to make a cheap wood stove of our own at home.
It is simple and easy, all you need is some cooperation and you can the job was done in no time. Also, priority is our number one safety here so, don’t forget to wear your mask, gloves, and other safety gear when doing this. It may involve the use of machinery here. Regardless, let us continue to learn more terms and some tips.
Steps To Make A Cheap Wood Stove At Home
Whether you are looking to making or purchasing one, it doesn’t matter. However, there are some guidelines and considerations that you’ll always have to put to use when it comes to these, and today; we are going to tackle making a DIY one for you:
Step #1. Preparing the materials for the DIY wood stove
When it comes to choosing materials for a wood stove, it is no joke since you only have a tight budget, yet you’ll have to ensure that it works and fits perfectly to carry out its usage; otherwise, it might cause harm and damage if not made properly.
For this, you’ll have to purchase a gas tank. No matter the size, it’ll work the same. Now, you will want to clean all the contents up using some water, ensuring that no flammables are present when used later on. Let it stay for minutes and when it’s done, flip and let all the water out. For more DIY wood stove ideas, read on homemade woodstoves and heaters plans and ideas.
Step #2. Grinding and removing
Since the gas tank has been exposed to water, you should dry it up before moving to our next step. Use a damp cloth or anything soft to get rid of the wetness present around the tank. Once done, prepare your grinder for its job that is going to be done after a while.
Now that it is all set up remove all the outer support pieces from the top and the bottom of the gas tank. And with the grinder, finish the rough surfaces by sanding it thoroughly so that it doesn’t have bumps present and will lay flatly on the surface when used for later.
Once all the smoothing has been done, it is now time to make a hole for the door’s opening. To do this, put some tape around the area, making sure that it is marked accurate as it will serve as a guide for your wood stove door. Then prepare some metal pieces that you will wield for later within the hole.
Step #3. Creating holes for exhaustion & a stand
For this step, you’ll also need to have a layout as a guide for making the top and bottom holes of the gas tank. Firstly, it should be big enough for the top as it will serve as an exhaust pipe wherein all the smoke will come out when used. It will also serve as a hole for putting in more coals.
As for the bottom part, use a smaller cylinder and weld it into the bottom part of the gas tank. From there, you can use a cover just simply to let out all the ashes after every usage.
From there on, you can already move on and make a door using some sheet metal. Measure it to the size of the door earlier and connect it with hinges. Finally, for the stand, you’ll need to have a long rod of metal cut into four exact measured parts as they will act as the stand of your wood stove. Wield it into the bottom part afterward to see if they need some adjustments. If nothing is wrong, then you’re good; continue.
Step #4. Painting
Now that all the necessary holes and stuff have been made, we need to paint it. Choose a color of your choice along with the coating and primer. First, spray the primer, and then move on to your color. Make sure to spread it all around the surface area. Finally, to have that shine, spray it with the coating. To help you, know how to paint a stove.
It’s A Wrap!
Having an idea about how to make a cheap wood stove of your own saves you some money. With that being said, I hope you put this into use as it might be helpful in the future, whether it is for business or yourself. For more stove articles, read on how to make a wood stove look new. Again, I hope that this article has helped you.

