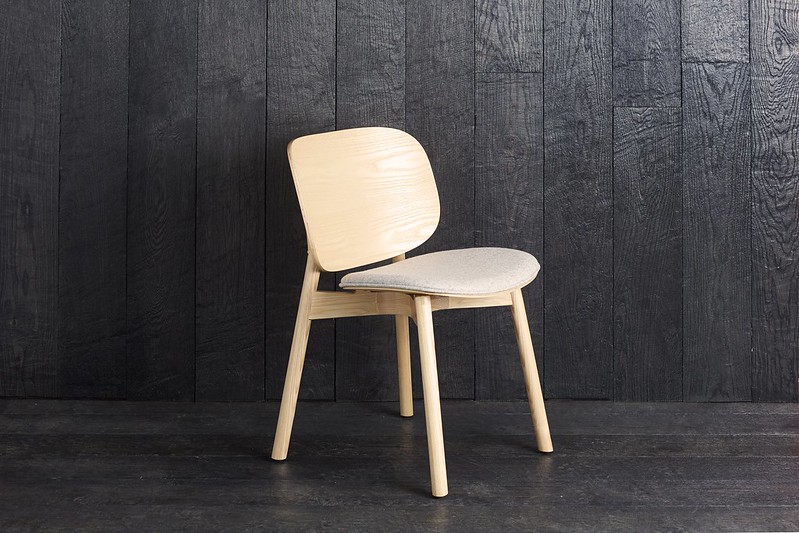
Have you been looking for something new to do? Or are you looking for something to inspire your creativity?
Allow this article to teach you how to make a chair if you want to stand out by introducing your personality through your furniture. You could also save a few bucks in the process.

Considering many of us spend our lives sitting, why not do that in a unique vibe? Use your DIY abilities to make your chair when the stores don’t have what you want — or what you can afford.
Building Your Wooden Chair
These wooden chairs have a clean, mission vibe to them. You can alter the measurements to fit different sizes, and you may customize the back shape to your preferences. All of the skills are simple, and the instruments required are easy to gather.
If you have the correct equipment and materials, building a wooden chair is much simpler than you may think. Even an unskilled do-it-yourself-er may professionally complete the project in just a weekend if you follow our step-by-step directions.
Step #1. Prepare the things you will need
For the first move, you need to gather the necessary items. The following is a list of materials you’ll need to complete your chair:
- Double-ended screws
- 1/4″ dowels
- 2.5″ decking screws
- 2x2s
- 1x4s
- A sheet of 1.5″ plywood
- Wood glue
- Drill with a 1/4″ bit
- Jigsaw
- Circular saw
Step #2. Woodcutting
You’ll need to make the following cuts:
- Two 14″ pieces of 1×4
- Two 37″ pieces of 2×2
- Two 16.5″ pieces of 2×2
- One 14″ 1×4 part is then divided lengthwise into two long sections.
Step #3. Drilling and assembling
Drill 1/4″ holes midway further into 16.5″ posts, and 1 & 1/6″ and 2 1/3″ from the top. 1/4-inch slits are cut out at the same time with the same spacing 1×4” boards with holes drilled in both ends.
Halfway through the 37″ posts, drill 1/4″ holes 15 1/3″ from the bottom, then 14 1/6″ from the bottom. Glue the holes and then insert the dowels. After that, you may put all of the parts together to make the chair’s two sides.
The tops of the short posts should be flush with the side pieces. Slide the split 1x4s 4″ up from the bottom on either side piece and screw them into place with decking screws.
Step #4. Ready the ties
Cut three 14″ 1×4 pieces and a 12″ piece of 1×4 into three parts. For the seat, cut a 17×17″ square from the plywood. Then, to make room for the back posts, cut 1.5″x1.5″ notches out of two of the board’s corners.
Drill 1/4″ dowel holes along the edge of one of the long sides of one of the 1x4s (one central spot and the other two 4 1/3″ from either end of the board).
On the side with the notches, align this piece with the seat part. Between the two gaps, mark the locations of the dowel holes from the 1×4 onto the seat part. Drill holes for 1/4″ dowels there as well.
Drill 1/4″ dowel holes in the center of each of your three 1×4 pieces. 1 & 3/4″ from the top of the short posts, and 14 3/4″ from the bottom of the tall bars, drill centered pilot holes in your posts for your decking screws.
Step #5. Building the back of the chair
Glue and then insert the dowels into both ends of the three 1×4 pieces you’ve made. After that, you can place them in the 1×4 and the seatback. Allow the glue to dry completely before continuing.
Step #6. Attaching the base
Glue the seat in place, then lay the two side pieces below it, making sure the back posts fit securely into their holes. Then you can drive decking screws through the plywood and into the center of the front pillars.
Step #7. Secure everything in their proper position
The two final aprons (front and back) should be glued and slipped into place, then screwed into place through the pilot holes you drilled earlier (passing through the posts and into the side of the apron).
Then, with the screw in between the three vertical bars, insert two more decking screws through the seat and into the back apron. If you like, you can use corner brackets on the chair’s interior to make an even stronger connection.
Step #8. Sand the surface
To prepare the chair for painting or staining, go sand the inside surface. If you don’t like the clean line look, you may also use this time to smooth out the edges.
Step #9. Paint and finishing
Finally, you can stain or paint the wood any color you want. You’re finished when it’s dry! Feel some pride in your new chair.
Conclusion
Wooden chairs have always been a classic, and you can apply your DIY decorations after you finish your handcrafted chair. Your friends will be impressed by your innovation and will most likely ask you how to make a chair.
