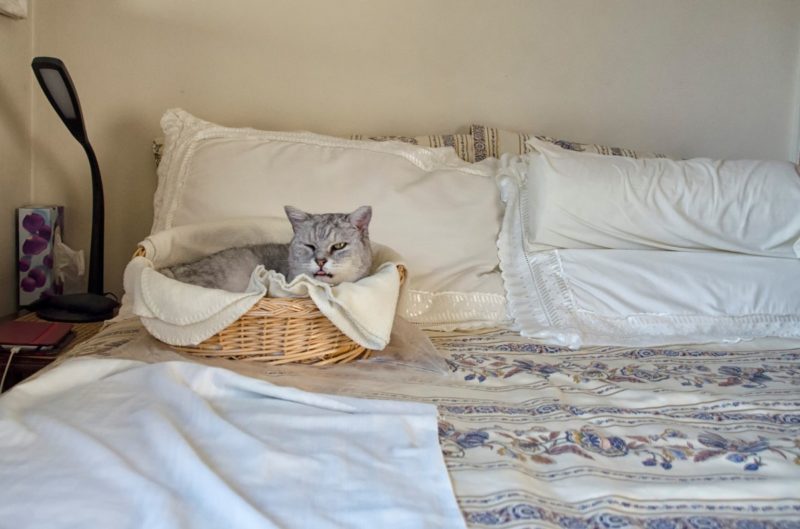
The question is: how to make a cats bed?
As a cat owner, you must provide your pet with a comfy place to rest.

Unfortunately, the cat bed you can buy in stores is quite pricey.
But do not worry because you can build your own cat bed at home.
My friends, there are just a few easy steps you should take note of; and there are many ways to make one.
So, without further ado, let’s start!
3 Procedures To Make A Cats Bed
So, how to make a cats bed?
You can either construct it out of cardboard boxes, a sweater, or a suitcase.
#1. Using a cardboard
If you have cardboard in your house, then good.
Otherwise, you can one from a store near you.
Step #1. Choose a box
The cardboard box must be big and nice.
Make sure that it is large enough for your cat.
Step #2. Removing the flaps
Get a box-cutter or a scissor and remove the flaps on top of the box.
But leave the bottom untouched.
Step #3. Make and opening
Create an opening with a U shape in front of the box.
This will act as your cat’s doorway.
Step #4. Decorating the box
With the use of craft glue, fabric, or construction paper you can transform the ordinary box into a beautiful cat bed.
Step #5. Lining the box
To complete the cat bed, make sure that the inside of it has a soft area.
You can put a pillow, stuffing, quilt backing, or a towel.
After you put any of these soft materials into the bottom of the box, your cat can already rest on it.
#2. Using a suitcase
If you have a suitcase that is not in use, you can make use of this for the cat bed.
Step #1. Gathering the materials
Aside from the suitcase, you will also need a tiny pillow, art supplies, strong glue, and 4 wooden legs.
Step #2. Attaching the legs
Turn over the suitcase.
Put some glue on every wooden leg and attach them onto the corners of the suitcase.
Then, allow it to dry.
Step #3. Placing the pillow
Make sure that the pillow is right enough to fit inside the suitcase.
But if nothing fits, consider making one.
Then place it inside your suitcase.
Step #4. Decorate it
You may draw onto a construction paper or find images on a magazine, then cut them and paste them onto the inside lid.
Use craft glue for this.
And, your cat can already use her new bed.
#3. Make use of an old sweater
You need to find a sweater that is preferably made of wool as it can offer both comfort and warmth.
Consider thrift shopping if you don’t have one.
In case you can’t still find one, a sweater made of any other material can work.
Step #1. Collect materials
Other than the sweater, you also need some stuffing, yarn, and a heavy-duty needle.
All of these are available in any craft store.
You may also use your sewing machine, but this isn’t required.
Step #2. Sewing the sweater’s neckline
Firstly, you need to flip the sweater with the wrong side out.
After that, you need to sew along its neckline to close this part of the sweater.
This is done to prepare it for the stuffing later on.
Once done, turn the right side of the sweater out.
Step #3. Sewing a line across the armpit
Draw a line first starting from one armpit of the sweater to another.
Then, sew along the line you created with both sides together.
For this, you need to use the yarn and the needle.
But you can also make use of your sewing machine.
So basically, you are simply making a tube that is running from one opening at the wrist area towards the other.
Step #4. Stuff the tube
Not that you are down sewing the line, you can now get your stuffing and fill them into the sweater’s wrist.
Add more stuffing until the tube becomes soft enough. Then, attach the wrists so that you can a circle.
The soft circle will serve as the edge of the cat bed.
Step #5. Sewing the sleeves of the sweater together
After you made a plush and soft edge for the bed of your cat, you then need to stitch the sleeves of the sweater together. This will form a loop.
To do this, you need to tuck a sleeve into the other sleeve first.
Then, sew all around the circle with the use of the yarn and the needle.
Step #6. Attaching the bottom
The body part of the sweater will be used for the bottom of the cat bed.
In other words, this is where your furry pet will be laying later on.
Align the loop created earlier with the body at the bottom.
Remove any fabric that is extending out of the loop using a pair of scissors.
Grab your yarn and needle again, and sew the bottom fabric onto the loop.
It’s A Wrap!
Finally, you have known how to make a cats bed using three different methods.
Choose accordingly based on the availability of the main material used – the cardboard, sweater, or a suitcase.
Also, consider which is easier to perform for you!
