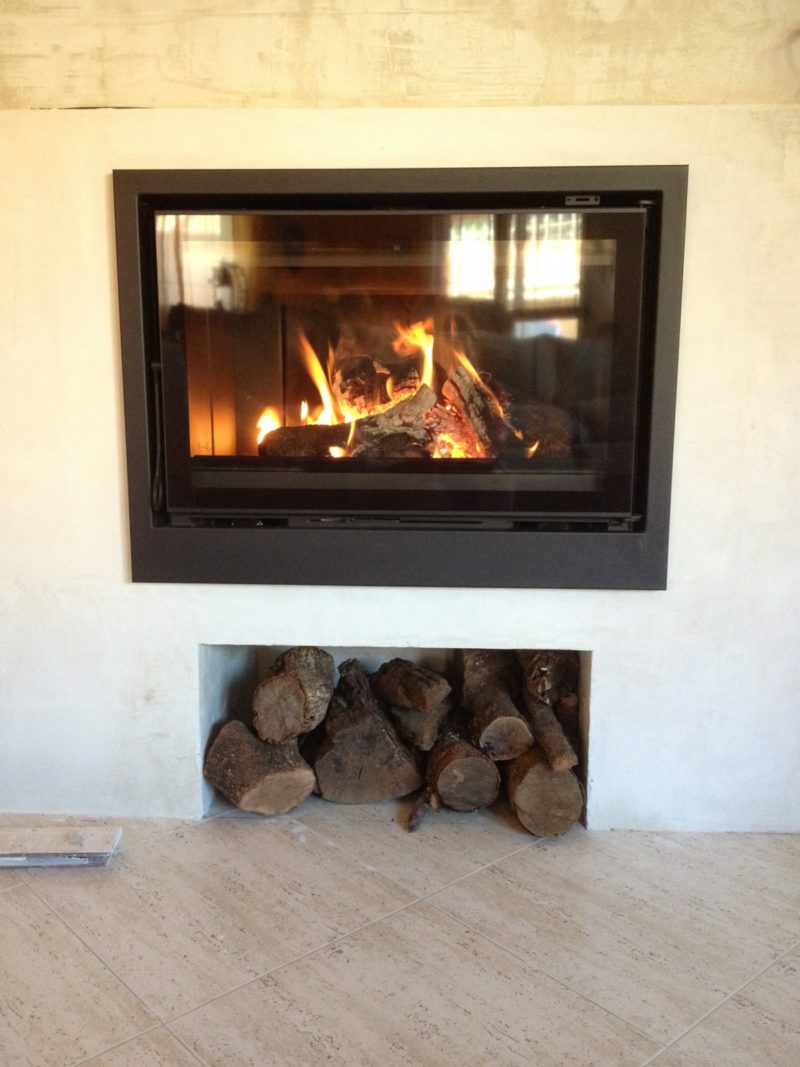
Are you wondering how to line a wood stove with fire brick? Most people are not familiar with these, so here’s a short description for you. What does a fire brick do? Well, to keep it short and brief, it helps retaining heat longer inside your wood stove. Though it’ll usually take a longer time to heat up than before, in short, it is still effective either way. In that case, you must know how to line a wood stove with some fire bricks. It may not be easy for beginners, but we can help you on figuring that out.
As much as possible, stay until the end of this article as we will further discuss various topics relating to the case today. Also, it is easy and doable, even for a starter.
Regardless, let us dive deeper without further ado and accomplish it without delays. You can always use this if ever you are having a hard time dealing with it. Also, while reading the topic, there might be some keywords or terms that you’ll want to get a hold of to have a better grasp of knowledge about it. So, how to line a wood stove with fire brick?
Easy Steps To Make Your Wood Stove Insulated And Heat Efficiently
For starters, it is required that you shall have better knowledge before dealing with these types of things. Lining up may be challenging since it might be your first time doing it but, there is nothing to worry about. With these steps, you can do it quickly:
Step #1. Preparations before starting the process
Before anything else, it is essential to prepare beforehand to avoid lots of mess when dealing with things that require cleaning or anything in general. To prepare the area, you’ll want to place a damp cloth or newspapers around the site of the wood stove to avoid the extra mess you should clean up.
Since you are dealing with this thing, it is also essential to keep in mind that you should wear working gloves to avoid your hand from getting damaged due to the fire brick’s abrasive surfaces. Also, make sure to open the woodstove door and keep it out of the way since it may hinder you while carrying this out.
Step #2. Placing the fire bricks in order
Since the stove has been readied, start by laying the first fire brick that you’ll put lengthwise in front of you while abutted to the left wall flat on the bottom of the stove’s firebox. Keep in mind that these bricks are nowhere near ordinary bricks. They vary in different sizes and shapes and fit together as if they were a puzzle. Now that the first brick has been placed, it is time to put the next piece into place. For this one, set a little bit adjacent to the first one laid on the inside.
Keep in mind that if all the bricks are of the same height and length, there is no need to worry about where you should place the next one.
The next thing you’ll want to do here is placing a brick that fits the one you’ve previously attached on the inside. If a smaller one is still available, you’ll want to put the middle between two long bricks from the firebox floor. Follow the pattern from here on to accomplish a base for the stove.
To hold the remaining firebricks in place along the inner wall, stand them on end lengthwise to fit under the angled ridge. Install the furthest brick first, sliding it beneath the metal ridge, before moving ahead on the left inner wall. In this way, you can place them formally without any worries of not fitting in. To get you further, know how to line a wood-burning stove with fire brick.
Step #3. Doing the back wall of the fire bricks
It might vary for the back wall, but it still follows the same process as earlier steps. What you’ll want to do here is slide in the bricks from the right down to the most left corner below that holds the bricks into place. Once placed, the bricks will stand perpendicular to the ones placed on the floor of the stove.
Complete this process by working from right to left. In this way, no fire bricks will all in case there might be one that is misplaced.
Do this until the interior of the walls has been filled up with bricks. You might want to put aluminum foil afterward to make the heat last longer inside of the woodstove. To hold the remaining firebricks in place along the inner wall, stand them on end lengthwise to fit under the angled ridge. Install the furthest brick first, sliding it beneath the metal ridge, before moving ahead on the left inner wall.
It’s A Wrap!
Since you were already given an idea of how to line a wood stove with fire brick, it is better to finish it right away to see it for yourself if ever it works for you. These steps are easy to do and do not cause lots of hassle when doing this to carry out. For more articles about stoves, read on how to keep the stove burning all night and a catalytic wood stove. Thanks for stopping by! I hope you enjoy it.

