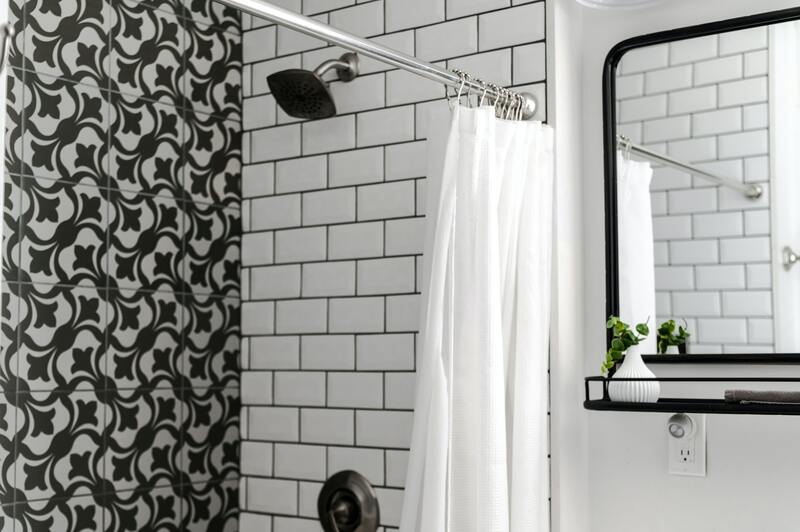
Is your shower wall water damaged? This article may help you identify how to know if water damaged shower wall needs replacement.
It’s unfortunate when water damage happens to your home since it’s hard to find what’s causing it. However, there are signs you may look for on walls, and these include cracking, dark spots, cracking, flaking, bubbling, the smell of dampness, and mold, to name a few.

How Water Gets Into The Shower Wall
Water damage in a shower wall can be more serious if the walls are continuously exposed to water. Here are two ways your walls can be in contact with water.
1. Water entering the tile grout and broken caulk
Most of us think shower walls are waterproof, and there’s no issue with water falling through them. However, the grout between them can cause water to seep through if it’s not sealed correctly.
If you notice cracks or holes from the grout, that can be an entry for water to get inside.
2. Leak in pipes
You have several pipes in your bathroom walls, bringing water to the shower and other fixtures in the bathroom. Unlike leaks in traditional pipes, water doesn’t have anywhere to go if there’s a leak in these pipes.
Water will be deposited in the walls, causing severe water damage. Considering that you won’t be able to see leaks in pipes easily, you should know if there’s a leak once the wall has undergone water damage.
Signs Of Water Damage In Shower Walls
Knowing the signs of water damage can be beneficial, and it indicates that your shower walls might be sustaining water damage. These signs are not easy to spot, so it is essential to always look for them.
1. Presence of water around the corners
Too much water pooling around the corners of your bathtub indicates the presence of water behind the wall tiles, which drips onto the tub’s walls.
2. Strong odors
A strong and musty odor from your bathroom that you can’t get rid of can be a sign of water damage.
3. Cracks and holes in grout lines
Do you observe any cracks or holes along the grout lines between your wall tiles? Are the grouts not even at some places?
Cracks, discoloration, and uneven grout lines can be a sign of water damage, and if this is the case, it’s a possibility that there could be water entering your walls.
4. Damp spots on walls
Do you notice any damp spots on the walls surrounding your shower wall? There’s likely a leak in the pipes that carry water to your shower.
How To Repair Water Damage Behind The Shower Wall
Now that you know the signs of water damage in shower walls, the next step is to repair the damage. It is also time to decide whether you will handle the repair by yourself or look for professional help, and this decision depends on the extent of the damage.
When making any repair, safety should be your utmost priority. Even clear water can contain harmful microbes, so see to it that you keep safe by wearing safety gloves, a dust mask, gloves, disposable coveralls, and a hard hat to prevent injury.
After knowing all that you need to wear to perform the repair, you may now follow the steps below.
Step #1. Take the tiles off
You need to carefully remove the tiles from the wall for the first step. You may use a putty knife or small flat pry bar to remove the tiles, and remember to take the tiles off until the damaged drywall is completely exposed.
Step #2. Cut out the drywall
Now that you removed the tiles, you may see the water damaged drywall. It will likely be soft because the wall has been exposed to water.
Get a sharpie or pencil and mark straight lines on the water damaged drywall you’re about to cut. Use a wallboard saw to cut the drywall.
Step #3. Clean the tiles
Follow this step only if you’ll be reusing tiles removed from the wall, but make sure that the tiles you’ll reuse are free from any drywall residue and old adhesive before reusing them.
Clean the tiles by soaking them in water mixed with household cleaner. You’ll need to use a putty knife to scrape off old adhesives.
Step #4. Cut and install a cement board patch
Use a circular saw to cut a cement board patch for the drywall. The cement board you cut must fit the drywall area you removed and must have the same thickness as the drywall.
Step #5. Tape the joint
Apply enough self-adhesive cement board joints to the cement board. Take note that the standard drywall mesh tape is not suitable for this repair and will not deliver long-lasting results if used.
Step #6. Reinstall the tiles
You can use new tiles or reinstall the tiles you removed and cleaned. Mix a thin-set adhesive if necessary and apply it to the wall.
Remember to align the grout lines properly with the tiles when reinstalling.
Step #7. Seal the joints
Seal the gap between the shower pan and the tiles. This step is crucial as it will not let water seep through the shower wall.
This step will surely help you if you get into similar problems.
Conclusion
Now that you can identify how to know if water damaged shower wall needs replacement, you can now take immediate action to repair your water damaged shower wall. Before proceeding with the repair, always ensure that you wear safety equipment.
For more related articles, you may click these articles that can help you determine how to remove mildew from shower grout and how to repair water damaged bathroom floor.
