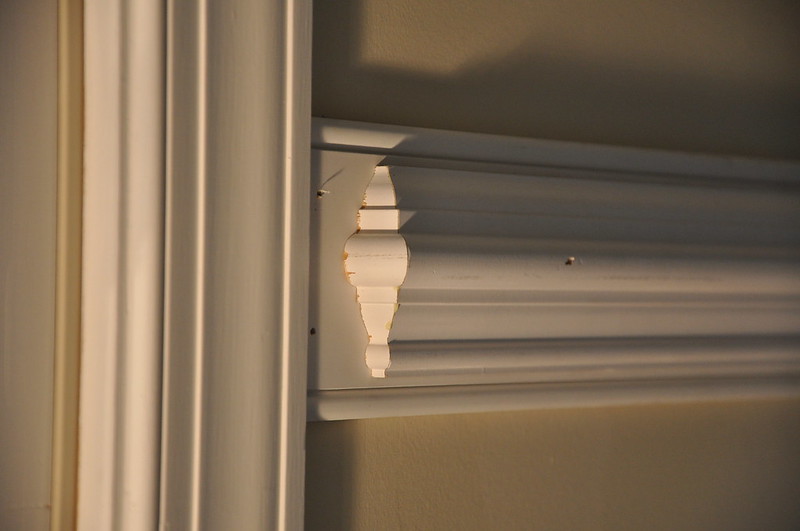
If you’ve yet to learn how to install chair rail molding and you plan to install one, read until the end of this 5-step guide. Originally, chair rail moldings were installed for practical and protective purposes, but have evolved their usage through time into a visual advantage.
Having a chair rail molding is very efficient and stylish. Installing one for your room also doesn’t require much effort and money while following some helpful steps and tips.

Chair Rail Molding Installation Guide
Step #1. Measure the walls and chair rail
Before even shopping for the chair rail molding at your favorite hardware store, find out first how much of the molding you’ll need. Use measurement markers such as a chalk box, level, and a pencil or tape to determine how long a chair rail is installed. Measure the length of the walls and mark them — take down notes of the dimensions.
You’ll also want to find out where exactly you’ll place the molding. Usually, the chair rail molding is installed at one-third of the room’s height from the ceiling down to the floor. So, for an 8-feet high ceiling, it’s safe to install a chair rail at 32 inches (2.67 feet) distance.
In measuring, begin down with the floor for the first inch upward until you reach the 32nd-inch mark. Then, put pencil or tape markings again on the wall.
You can use a level to check if the marks are straight. Ensure that the markings are leveled with the floor to achieve consistency and to avoid your decoration from looking crooked.
Step #2. Prepare other tools and materials
Now it’s time to buy the chair rail molding and other materials. For the molding, choose a design, size, and texture that match and complement the existing trims of the room. In terms of length, let at least 1 inch allowance for cutting corners and unavoidable mistakes.
You may also find yourself selecting between wooden or synthetic molding. Polyurethane molding is more flexible than a wooden one, making it a good choice for uneven walls.
Decide whether to use a brad nailer or a finishing nail and hammer to attach the molding. Prepare other tools and materials such as stud finder, wood glue or adhesives, miter saw, colored putty, coping saw, sandpaper, and varnish.
Step #3. Cut moldings and corners
Before chopping the moldings into cuts, ensure to use the stud finder to locate the wall studs and mark them. If one molding happens to be shorter than the length of your wall, the other piece joining the first molding should meet over the stud. This should be applied to all the joints.
Now, for the inside corner, cope with the molding’s edge by an inside 45-degree angle cut using a coping saw. Do this for its joining molding. Cope the intersections until they tightly fit with each other.
You’ll need to cut the molding sections with an outside angle of 46 degrees or more for outer corners. You may use scrap pieces to obtain the right tips to cut. Adjust the angles until both pieces fit and join tight.
To create a chair rail end, make a ‘return’ with an outside 45-degree angle cut and thickness of the chair rail rather than creating a square end zone. Again, you may use a scrap piece to make this opposing sliver.
Step #4. Glue and nail to the wall
With all the markings you left on the wall, it’s time to attach all the chair rail moldings in their proper position. Use wood glue or construction adhesives, as well as brad nails or finishing nails.
If you’re using the brad air nailer, simply tack in the nails with the gun. If otherwise, secure the moldings with finishing nails. Add extra glue when joining two pieces together.
Step #5. Fill holes and gaps
For the final step, seal the wood holes and gaps with a dyed putty. You can hand-blend colors to find the perfect match for your chair rail. You can also caulk the seams to obtain a finished look for the chair rail.
Does A Chair Rail Have To Match The Baseboard Color?
While having many colors inside a room gives a very artistic look, it’s essential to have one unifying component. To do this, match the chair rail’s color with that of the baseboard. You can also be playful with the colors, as in having different hues for chair rail and molding, but remember to balance them.
What Can I Use Instead Of Chair Rail?
Many chair rail alternatives can be used in place of the traditional one for decorative purposes. For example, tile, paint textures techniques, stencils, cutouts and borders from wallpapers, and even ribbons can create the same visual appeal.
Conclusion
Now that you know how to install chair rail molding, decorating and providing protection from chair damages for your small room can be a laid-back task. You can also enjoy designing your own chair rail. Take time to admire your well-done work after completing the installation steps.
