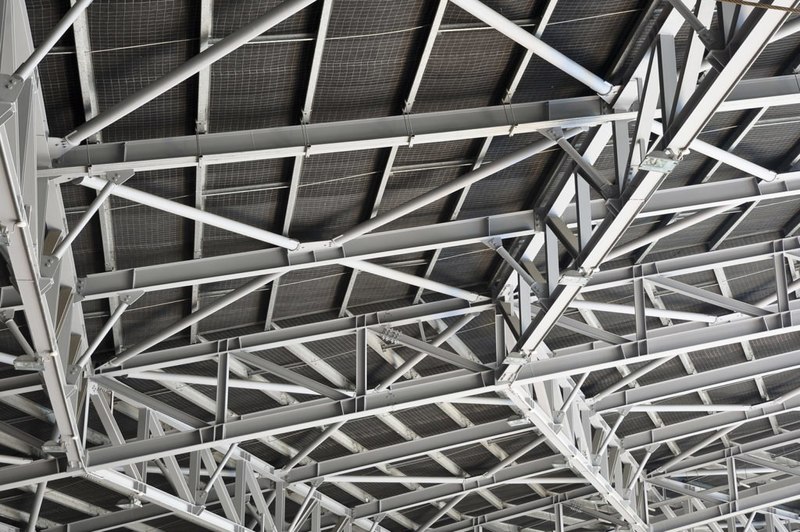
Knowing the signs of water damage is vital on how to inspect water damaged structural beams. Of course, there are other processes involved in water damage inspection. The processes that we will tackle in this article are identifying the water damage source, the type of water contamination, evaluating the damage, and writing up an action plan.

Signs Of Water Damage On Structural Beams
You can typically identify water damage on the structures of your home. However, since structural beams are not usually out in the open, it may be more challenging to see if they have water damage.
Despite that, you can still see signs of water damage in your home through its adjacent or connected structures. Here are some of them:
1. Ceiling discoloration
Since there are structural beams on the roof of your house, them being water-damaged may lead to your ceiling being water-damaged as well. Ceiling water damage often shows as discoloration or through water stains. Therefore, if you see your ceiling with tinges of yellow or brown, then it may be due to water damage.
2. Mold growth
Mold growth may also not be visible, but you won’t miss the musty smell they exude. Look into the musty odor in your room.
Mold growth is pretty damaging because they encourage wood rot. Rots are usually a result of water damage, and they are common among water-damaged beams. Here is an article about fixing water damaged wood beams.
3. Peeling paint
Excess moisture on the wood, either from your ceiling or your drywall, leads to weakened paint adhesion. Hence, it leads to peeling paint.
Water Damage Inspection Process
After pointing out the signs, what should you do next? Here is the water damage inspection process.
Note that during the inspection, you should document the damage for your insurance claim. Your lawyer can help you review your insurance coverage and policies to determine whether your current insurance will cover the water damage. If it is within the coverage, then your lawyer can also help you strengthen your insurance claim.
Step #1. Identifying the source
Identifying the source of the water damage on home structures is an essential part of water damage inspection. Identifying the source involves looking at the signs of water damage, like what we have mentioned above.
Professionals sometimes use acoustic listening devices, heat scanners, and video pipe inspection equipment to look for the source of water damage. Acoustic listening devices are one of the most basic tools to pinpoint leaks. Listening discs and ground microphones are used to listen in on the noise of escaping water.
Meanwhile, heat scanners are used when it’s too loud for acoustic listening devices. Since temperature shifts happen due to escaping water, using heat scanners to pick up these changes would be helpful.
Lastly, video pipe inspection equipment is used to look inside the pipes. This is to identify the source of the leak and help in making the repairs more straightforward.
Step #2. Type of water
Another thing you have to identify is the type of water that caused the damage. The kind of water affects the repair costs, so it is crucial to identify the category of water that caused the damage.
For your reference, there are three categories of water contamination. Category one is white or clear water, which is free of contamination. Clearwater is relatively easy to clean up.
Next is category two, which is greywater. Greywater is contaminated but not highly toxic.
Lastly, category three is highly toxic and harmful. Cleaning black water is expensive because of the precautions restoration crews have to take to clean it up.
Step #3. Extent of damages
After identifying the source and the type of water, you have to look into the extent of the damage. Evaluating the scope of the damage may help you decide whether you should repair or replace your structural beams.
Also, the classification of property damage may help you with your insurance claim. There are three categories, pre-existing damage, primary damage, and secondary damage.
A standard homeowner’s insurance covers primary damage. Along with surveying the damage, professionals are also likely to do a complete safety inspection.
Step #4. Action plan
The action plan is the last of the inspection process and comprises an accurate overview of the water damage and the outline of the restoration process. The restoration process involves cleanup and structural drying.
If there is mold, then it may include mold remediation as well. Our article about cleaning up a water damaged wood base may give you an idea about the restoration process. Along with the action plan, the water damage experts will likely walk you through the inspection and restoration process costs.
Conclusion
Water damage is not just a leak; it may lead to damage to your home’s integrity, especially if it concerns your structural beams. Since these beams support your house’s ceilings, floors, and roof, it is dangerous to let them get affected by water.
Since it has severe repercussions on your home, it is a good idea to learn how to inspect water damaged structural beams. We hope this article about this specific issue was of help!
