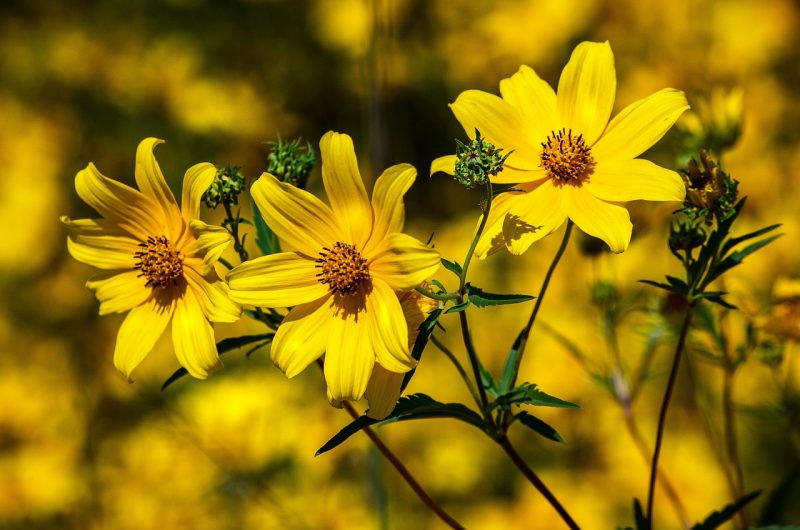
You can quickly learn how to grow coreopsis from seed using three simple steps. Gone are the days where you have to feel intimidated in starting plants from seeds because, with proper diligence, you can have a stress-free growing experience. It will be useful to master various propagation techniques for coreopsis, not limited to cuttings and divisions.
You can also start your tickseed in the greenhouse to ensure that they will germinate as quickly as possible. Otherwise, feel more confident with the fact that this plant has a fast growth rate anyway. The stable indoor conditions would still be beneficial and avoid drawbacks in development.

How To Start Coreopsis From Seed
Step #1. Germination
According to the University of Florida, you can start sowing your coreopsis seeds from October to January. You can collect them yourself, but it should be easy to get the seeds from most growers’ cooperative. Once you have mature plants, take comfort in the fact that coreopsis easily re-seeds itself for optimal productivity.
However, it’s more advantageous if you start your coreopsis seeds in the greenhouse. Use well-draining pots with moist potting soil for growing coreopsis and place two seeds per container. Press them into place and add some soil over the top to cover the seeds.
Step #2. Maintenance
After sowing, don’t forget to mist the medium once more to encourage germination. And speaking of which, you have a higher chance of sprouting coreopsis seeds if you place them under controlled conditions. Select an area in the greenhouse that’s bright but out of direct sunlight and provide heat to counter the coldness outdoors.
You can also cover the pots to create a moist environment for the seeds as they grow. However, make sure that you don’t drape the cover tightly to allow evaporation. At this point, your maintenance for the seeds would be consistent moisture and replacing the cover after watering.
Step #3. Thinning and transplanting
You can expect the coreopsis seeds to germinate within three weeks, and once you notice, remove the cover and thin your seedlings. Choose the stronger one in every pot and transplant it in a more suitable container. You can opt to continue growing the seedlings in the greenhouse or transplant outdoors in partial shade before summer ends.
Maintain soil moisture, and check your site first to ensure that the soil structure will drain quickly. Suppose you continue growing indoors, transplant in the garden six weeks before the first frost. However, make sure that you have acclimated your plants first to avoid transplant shock.
Caring For Coreopsis
Hardening
It’s important to harden your plants first before planting them outdoors. You can use the greenhouse or any sheltered space to acclimatize coreopsis plants for at least a week. Help your plants adjust to the outdoor conditions gently with some protection from the sun, wind, or frost.
Location
The great thing about coreopsis plants is that they are not picky with the location. Some species can even tolerate challenging conditions such as drought. However, aim to use well-draining sites and an area with full sun to help your plants bloom.
More so, remember that coreopsis thrives best in a warm climate. Some can still survive in wet regions, but you want to be mindful not to leave them in soggy soil to encourage rot. More so, intense heat can damage the plants.
Water and fertilizer
As previously mentioned, coreopsis can tolerate drought once established. However, they will benefit from being well-hydrated if you want to ensure gorgeous blooms. You can water coreopsis once a week to help the roots thrive.
Just check the surface first to avoid overwatering and do so in the morning to avoid keeping the leaves wet. On the other hand, you can add some compost in spring as support for your plants. Coreopsis do not require fertilizer as much as other plants. Be mindful of the label instructions because overfertilizing can mess with flowering.
Deadheading
Coreopsis also benefits from deadheading because you’ll help the plant focus its energy on growing new blooms. More so, it makes the plant look tidier if you remove the spent flowers. Some gardeners even cut back the plants before summer ends.
Common problems
Besides being low maintenance, coreopsis plants are also relatively easy to care for because they don’t have many serious diseases and pests. If you maintain a stable environment and proper practices, you shouldn’t be at risk for fungal problems and pests.
If you did end up noticing pests and diseases, you could always isolate the infected plants immediately. Use an organic pesticide or fungicide to eradicate the problem and avoid its spread quickly. More so, always be mindful of cleanliness and diligence.
Conclusion
Starting coreopsis from seeds can also be just as easy as propagating from cuttings or division. Those who are interested to learn how to grow coreopsis from seed shouldn’t feel intimidated. Under proper conditions and care, you should germinate coreopsis seeds without many drawbacks.
Consider sowing the seeds indoors to protect them from extreme climates. Place two seeds per pot and then cover the container to maintain a humid environment. It will also help if the temperature is warm to encourage germination further.
Then, thin the seedlings and transplant in the garden six weeks before the first frost. Choose a site with well-draining soil and partial shade for growing coreopsis.
