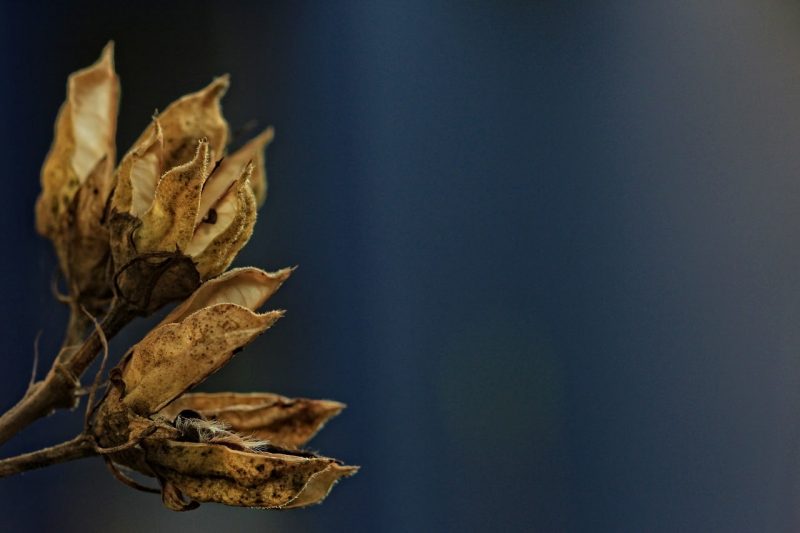
Learning how to germinate hibiscus seeds are fairly easy – given that you follow the directions right. Once you succeed, you’ll be able to give your garden a boost of color and life. If you’re one of the many people who are looking for a guide in germinating and growing hibiscus plants, you’ve come to the right place.
Hibiscus is a type of flowering plant that produces different colors of flowers, depending on the variety. But more than the appearance and the beauty they add to a garden, hibiscus is also packed with a lot of benefits. According to Healthline, hibiscus plants could aid in relieving conditions such as an upset stomach, high blood pressure, and even fever.

With that, it’s no wonder why a lot of people are looking to plant and grow it successfully. Read on to learn more about it.
Germinating Hibiscus Seeds
If you’re planning on growing hibiscus from seeds, it’s best to start the process at least 14 weeks before the date of the last frost. It’s also recommended that you start germinating the seeds indoors. If you’re growing them from seeds, here are the steps you need to follow:
Step #1: Nick the top of the seeds
Although not necessary, nicking the seeds of your hibiscus plant will help the seed absorb water better. It provides a better and more reliable way of making sure that your hibiscus seeds will germinate. This is because once the water enters the seed, it will act as a signal for the embryo inside the seed to start germinating.
Step #2: Soak the nicked seeds in water
Once you have nicked the seeds, the next step is to put the seeds in water. Leave them on the container for at least an hour. For better results, you can leave them soaked overnight.
Step #3: Fill a small pot or container with potting mix
Prepare your soil mixture, but don’t add fertilizer to it. Make sure that your container has a drainage hole that ensures that all the water from the mixture will be able to drain through it. If you’re planning on germinating a lot of seeds at a time, you can opt to use celled trays to separate the seeds and avoid nutrient competition.
Step #4: Plant hibiscus seeds
With the potting soil ready, place the soaked seeds on the soil at about ¼ to ½ inch. Make sure that the soil is moist enough, but also not too wet. Hibiscus seeds won’t thrive on overwatered soil because it can cause the developing roots to rot.
Step #5: Provide heat and cover the pot or tray with plastic
Germinating hibiscus seeds need heat to thrive. If you can’t find an area where it will receive at least 80 to 85 degrees Fahrenheit of heat, place it on a greenhouse in a heat mat. To ensure that the humidity and temperature are maintained, place plastic on top of your pot or tray.
Check your plant’s growth daily. As the stems start showing signs of becoming woody, you can start feeding your plant with diluted half-strength water-soluble fertilizers in small amounts. Under the right conditions, your hibiscus plant should start sprouting within a week to a month. Once the plant grows big enough, you can start placing them outdoors where they can continue growing.
Germinating Hibiscus in Semi Pro Greenhouses: 3 Reasons to Do It
Did you know that one way of improving your hibiscus germination success is to place your seeds inside a semi pro greenhouse? While you can directly sow the seeds in the garden, sometimes, temperature fluctuations can hinder your seeds from germinating and growing.
If you find yourself constantly facing this ordeal, then greenhouse gardening might be the best choice for you. Here are 3 reasons why you should do it:
Reason #3: Provide heat during the winter
Since hibiscus plants love to thrive in warmer climates, it’s vital that they receive a significant amount of heat during germination. Starting your seeds inside a semi pro greenhouse allows you to do this. With the help of some heating pads, you can provide warmth and protection for your growing plants all year long.
Reason #2: Greenhouses provide protection against pests and predators
When growing seeds directly in the garden, squirrels, beavers, rats, deer, and other animals could eat your seed and growing plants. Other than that, pests could also eat the tissues of your growing hibiscus. With a semi pro greenhouse, you can offer ample protection for your germinating seeds and growing seedlings and make sure that they will have a chance to grow into a beautiful flowering plant.
Reason #3: Provide an optimum environment for plants
Since hibiscus plants love to thrive in warmer climates, they must receive a significant amount of heat throughout the course of their germination. Starting your seeds inside a semi pro greenhouse allows you to do this with great ease. With the help of some heating pads, you can provide warmth and protection for your young plants all year long.
Final Thoughts on How to Germinate Hibiscus Seeds
Hibiscus plants aren’t known for their only beautiful blooms, but also for their wide variety of health benefits. It’s no wonder why a lot of growers are keen on learning how to germinate hibiscus seeds. Using the steps outlined above, you can start growing your own hibiscus plant and enjoy its beauty and health benefits in no time.

I followed all your instructions on germinating my 140 hibiscus seeds. It’s been a month and not one has germinated. I have contacted you twice and haven’t received a response from you yet. I would appreciate if you could address this issue.