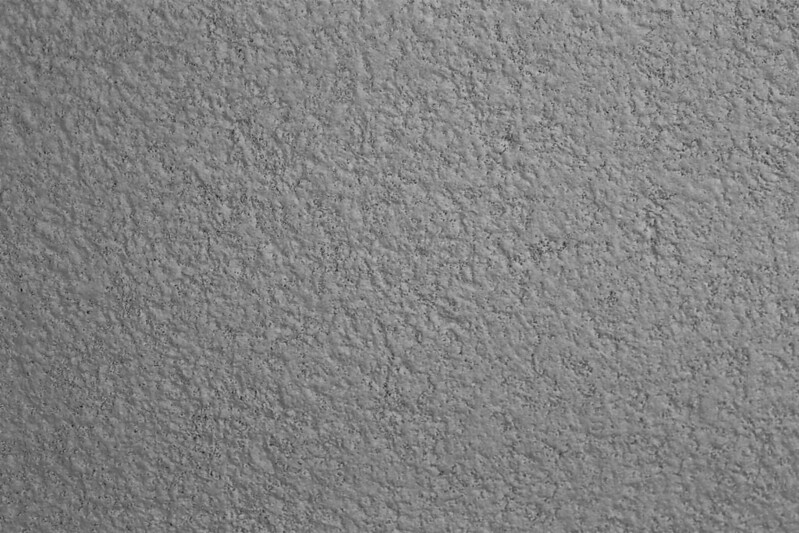
Are you wondering how to fix water damaged textured ceiling in your home? Although time does wonders, it can also do you problems when it comes to damaging different parts of your home. The good thing is, you can actually fix one of these in just four easy steps.
Textured ceilings accentuate the mood of the space and hide imperfections very well. However, they can be difficult to fix and paint as they attract more dust than normal ceilings do.

Once damaged, replacing textured ceilings will be a lot of work. Nevertheless, there is no need to worry. Things will be easier if you use the right tools and properly follow the instructions.
Types Of Ceiling Textures
The process of repairing depends on the type of texture of your ceiling. There are several texture types and here are four of them:
- Knockdown texture
- Crow’s foot
- Orange peel texture
- Popcorn
It is not easy to identify which type of texture your ceiling has but doing a little research always comes in handy.
Fixing Water Damaged Textured Ceiling
Here are the step by step instructions to help you repair your water damaged textured ceilings.
Step #1. Soak the ceiling texture brush
Before starting with the project, you must first moisten the brush that you will use. Soak it in warm water overnight or for at least an hour. You can also apply a softening agent to soften the bristles so the brush can perfectly create the proper texture to your ceiling.
Step #2. Get the surface ready
To prepare your ceiling for repair, remove lingering ceiling texture and repair the holes. You may use a putty knife so they will come off easily.
However, for water damage, we recommend you use a stain blocker. This is best to prevent bleeding from the old water damage into the paint.
Tip: To better conceal marks of patches, make sure to not make long straight lines in between the new and old. Irregular edges are easier to hide.
Step #3. Applying wood joint
This technique may vary according to the type of texture you will match, but here are the basic instructions.
First, mix the joint compound together with a drill and paddle or with a paint stick or large spoon with a little portion. This will remove bubbles and loosen the compound. Afterward, try applying it on an extra board or a spare drywall piece until you achieve the right texture.
Then, apply the mixture to the damaged part of the ceiling by using a putty knife. You don’t have to worry yet about the texture, just apply it smoothly and generously until everything is covered. Then, with a texture tool, stomp the texture back to the joint compound.
Step #4. Time to paint
Before applying some color, you have to let the joint compound dry and set it overnight or even longer. Remember to use the color that matches the rest of the ceiling, unless you are planning on making the repair look too obvious. Better yet, repaint the entire ceiling just to be sure.
Well done! Who would’ve thought that the damage can actually be completely covered. Your ceiling now looks as fresh and fancy as it used to be.
Hiding stains in your ceiling
In some cases, you will be so lucky that you won’t have to patch stains from water damage. Some damage, especially one that did not cause falling, molding, or chipping, can be just simple water stains which you can just hide.
In such a situation, you can use an aerosol sealer which hides stains and discoloration like water stain, smoke, and cooking oils. Once the sealer dries, paint using a ceiling paint.
Are textured ceilings out-of-date?
Yes, textured ceilings are nice, but they are practically outdated. They are not usually installed as they easily attract dirt and dust thus making them high maintenance.
Aside from that, it may be a challenge for the body and the budget to repair them when they get damaged. Textured ceilings are also difficult to paint since they have a detailed structure, unlike smooth ceilings.
Does insurance cover ceiling water damage?
If the damage was gradual, which normally happens over time, the insurance does not cover it. Home insurance only covers water damage and water leaks only if they are due to an accidental or sudden cause. If a pipe in your home suddenly bursts out and causes water damage to different parts of the house, don’t worry because insurance has it covered.
Conclusion
Water is not exactly the best type of friend you would want your textured ceilings to have. Over time, it may cause damages which can be difficult to address. It comes to a point that you would want to call for professional help and let them do all the work.
Learning how to fix water damaged textured ceiling is not an easy task, but the efforts you will give will not go to waste. May it be a simple or complex damage, the art of DIY will always come in handy.
