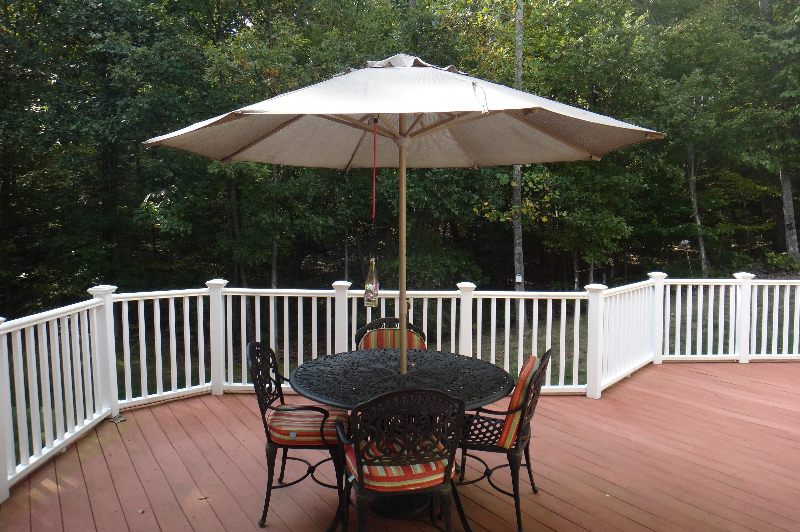
Disassembling the rail is an essential step on how to fix water damaged rail. Disassembling allows you to look into the damage to your railing pieces and set them separately.
Although, of course, apart from disassembly, we also have other steps you need to follow when repairing a water-damaged rail. The steps are indicated below, along with what is expected of you before and after the repairs.

Before The Repairs
Before the repairs, you have to assess the damage first. Look into the extent of the water damage and decide whether you should repair or replace the rails.
Also, you have to find the cause of water damage so you won’t end up with another water damage upon fixing your rails. You can contact a water damage professional or read our article about detecting water damage on wood. You are also advised to document the water damage and compile your receipts for your insurance claim.
Moreover, you have to look into your insurance coverage and policies with your lawyer. Look it over to check whether your current insurance covers your water damage. After deciding that you want to proceed with the repairs, proceed with the next part of the article.
Steps In Fixing Water Damaged Porch Rail
Outside structures of your home are more vulnerable to damage due to the elements. In this case, rails may split or crack.
In the event of water damage, it may even begin to rot. However, we’ll talk about that later. This part will focus on the steps in fixing the water-damaged porch rail.
Step #1. Remove the rails
Your porch’s accent rails are typically secured with Phillips head screws above and into the porch posts, so simply remove using a Multimaster tool. You can use a Feintool Multimaster since pry bars may cause damage on your porch.
Step #2. Take the rails apart
After taking the rails down, then separate them. Look into which are rotten and separate the spindles from the bottom rail.
Since the spindles are usually attached to the bottom rail with 16-18 gauge brad nails, use an oscillating cutter to cut through the brads. Afterward, remove the screws of the top board with a Phillips bit.
Step #3. Remove old paint
Use your Feintool Multimaster tool and attach a sanding pad to remove the loose paint on the railing pieces. Water damages paint, leaving it loose or cracked. It’s necessary to remove the old paint to make way for the new one.
Step #4. Spindles
Spindles are the cheapest materials to replace in your porch rail, so you can replace all of them whether they were affected by rot or not. You can buy pre-cut cedar spindles at your local lumber yard.
We recommend you to stay away from treated lumber because they won’t hold up as well as cedar. They also require a significant amount of time to dry, leading to wood twisting or warping.
Step #5. Cut the spindles
Use a miter saw for spindle cutting. Cut it about a quarter-inch longer than needed. The quarter-inch is your miter cut, and this will help you avoid rot for a while.
Ensure that the spindles are of the same length. Then, place it on your miter saw.
Remember that your stop is a square to keep your cuts the same length. Secure the spindles with a C-clamp and put on protective gear.
Place one of the pre-cuts between the blade and the stop, start the blade, then pass it through the spindle. As you stop and raise the blade, your spindles will have an angle. The angle is meant to help your bottom rails to drain water rather than hold it.
Step #6. Seal the bottom rails
Sand the bottom and seal them while you mix the epoxy. For a low odor epoxy, we recommend Rot Fix.
Ensure that the railing pieces are dry and remove crumbly wood if there are any. Coat the holes with Rot Fix before filling them with putty resin. After filling the holes, sand it down, then paint it.
Step #7. Assemble the railing
Reattach the spindles on the bottom rails with brad nails. Space the spindles accordingly. Then, coat the whole railing for the last time with gloss paint to protect it from moisture and the sun.
Wood rot: effect of water damage on the wood rail
As mentioned above, wood rot results from water damage, and it affects your wood’s rigidity. Here is an article about how long before water affects wood.
To prevent wood rot, you have to protect your wood from excessive moisture. Protecting your wood rails is the next part of this article.
What to do after repairs
After repairs, make sure everything is in order. The best way to protect your wood rails is to seal them. Caulking the gaps would help prevent moisture from seeping in and attacking your wood from the inside.
Conclusion
Water damage leads to numerous complications, and one of them is wood rot. Our article is meant to shed light on how to fix water damaged rail and on repairing wood rot. Hopefully, this article about water-damaged rails was of help to you.
