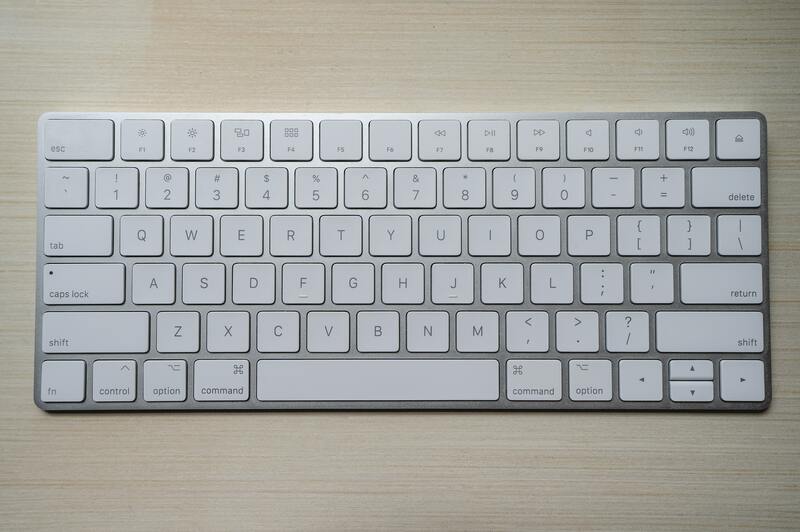
At one point, when working on your computer, you’ll want to know how to fix water damaged keyboard in the event of an accidental spill. No, you shouldn’t put it in rice, but you can disassemble it to deal with the problem.
Let’s walk you through this.

What Should You Do When You Disassemble The Keyboard?
As mentioned earlier, it should go without saying that no, you should not put it in rice. This is an unfortunately perpetuated myth surrounding wet electronics.
Rice can absorb a little bit of moisture, but for the most part, it does nothing. It won’t even take care of other minerals in the spilled liquid that you have to deal with.
Plus, you’ll end up with a new problem: getting rice grains out of your keyboard or other electronics. Taking these grains out may cause further damage.
So now that we’ve debunked that myth, let’s talk about what you should do instead.
Step #1. Turn it off
First things first, you have to disconnect it from the power source. Either pull out the cord, remove the batteries if it’s wireless, or if it’s on your laptop, turn it off right away.
Disconnecting your keyboard from its power source is a way to prevent damaging it even further or frying the circuits.
Step #2. Take it apart
You’ll have to be very careful and meticulous in doing this process.
Depending on the keyboard type, you might need a screwdriver to take out the tiny screws. You might need a laptop repair kit and some tutorials for your specific model if it’s a laptop.
Afterward, take out the top layer.
It may have one or two membranes underneath. Nevertheless, take these layers out as well.
You may also need to take out the individual keys in some cases. Save a picture of a keyboard to have a guide later on where the keys go.
On the other hand, you might own a keyboard with LEDs or added functionalities. These features will require more time to take apart.
Once you finish disassembling your keyboard, you can work on doing away with the moisture.
Step #3. Wipe the parts
This one should be pretty obvious. What’s not obvious is what you should use in wiping the parts.
Avoid using paper towels or tissues. These items could add more dust or debris to your keyboard and introduce another problem.
Not to mention that a paper towel or tissue could quickly disintegrate, and you’ll end up picking out the little balled-up pieces.
Use a clean, dry, lint-free cloth. Wiping the parts with this cloth can prevent dust or debris from further affecting your keyboard.
If you accidentally spill a sticky liquid such as soft drinks or juice, you better break out the alcohol swabs to deal with the stickiness.
Step #4. Let dry and reassemble
When you completely wipe clean your keyboard parts, you can put them back together again.
However, to ensure it’s completely dry, you may want to leave the parts for about 12 to 24 hours. Any moisture you miss will evaporate before reassembling.
There you have it! Your keyboard should be totally dry at this point.
Furthermore, if you might need help with other water-damaged electronics, fret not. Here’s a helpful guide on how to clean water damaged electronics.
It’s important to take note that even if you get rid of all the moisture on your keyboard, it may not end there. Let’s discuss the aftermath.
What If Your Keyboard Is Totally Fried?
Even after going through the process of taking apart your keyboard, you have to check if it’s still functional. There’s a chance that the keyboard’s damage passed the point of no return.
In this case, you’ll have to contact the manufacturer to see if they can bring your keyboard back to normal.
If the damage does indeed warrant purchasing a new keyboard, try to look into getting an IP32 water-resistant keyboard.
You should know about this type of keyboard because the IP32 rating means the keyboard abides by industry standards for water and dust resistance.
IP means International Protection rating, while the number tells you how protected the internal parts are from the dust, water, or other things that could affect your keyboard.
The first digit signifies dust protection, while the second digit signifies water protection. Any techy person may want to check out Ingress Protection ratings.
Still, even with a new keyboard, you’ll want to take extra precautions to prevent water damage. Here’s a handy article on how to protect electronics from water damage to give you an idea.
Conclusion
Well, now you’re all set. Water damage on your keyboard or other electronics can be a nightmare.
Luckily, with these tips and tricks, you have a general idea of how to fix water damaged keyboard. After all, there may be times or circumstances where an accidental spill may occur.
Remember to be careful when using your computer to prevent any liquid-related mishaps. Also worth mentioning is to keep your tools and a dry cloth handy just in case.
