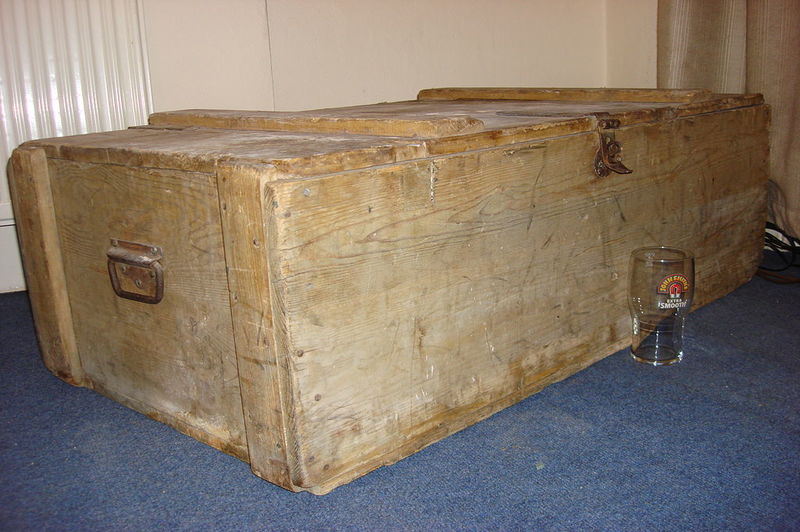
Home tricks like vinegar or baking soda are simple ways how to fix water damaged cedar chest. These methods are perfect for minor stains left by wet glass or water droplets.
For more severe damage, you can refurbish your cedar chest using special chemicals and cloth. You may even work on the chest’s veneer if you have the suitable materials.

Why Should You Repair Your Cedar Chest?
You may be thinking, why should you go through all this trouble to fix a plain chest? Well, this hardwood furniture is an excellent addition to your living space!
Cedar chests are diverse and have several uses. They can be:
- A coffee table
- A nightstand in a bedroom
- A TV stand
- A storage container
- A window seat
- A toy box
- An extra house seat
- A filing cabinet
- A cooler
- A living room decoration
Cedar chests are also an excellent family heirloom with sentimental value. Antique cedar chests also have high value in the furniture market.
Simple Tricks To Remove Water Stains From A Cedar Chest
A cedar chest is a great decoration to show friends when they come over. You may even use it as your snack table to appreciate it more.
Alas, though, your guests forget to put coasters under their glass, and it leaves a circular water stain on your chest. It may seem like a small job, but continuous damage can leave white marks on your chest. Luckily, some simple home remedies can make your cedar chest look good as new.
1. Baking soda and water
Make a solution with baking soda and water. Apply this on the chest, then use a damp cloth to wipe everything off.
2. Mayonnaise
Use a paper towel to dab some mayonnaise on the stain. Leave it on the chest overnight and wipe it off with a clean cloth the next day. Next, use vinegar to polish your table, and it will look good as new!
3. Vinegar and olive oil
Combine equal parts olive oil and vinegar, then apply it on the water stain using a cloth. Wipe the mixture in the same direction as the wood grain, and repeat until the stain disappears. Use another cloth to wipe your cedar chest clean.
Vinegar is an excellent stain cleaner, while olive oil polishes the chest and keeps it smooth.
4. Toothpaste
Make sure you have white toothpaste. Put a generous amount on the stain and rub until the mark comes off. Wipe the toothpaste away with a clean cloth.
Now, you don’t have to worry! Just look in the pantry or medicine cabinet, and you’ll find the perfect remedies for a water stain.
Step-By-Step Process On How To Maintain A Cedar Chest
Now, some forms of water damage will need more than toothpaste to fix. Accidents or years of neglect can make a cedar chest look dirty and unattractive.
Don’t worry, though. You can also refurbish your chest quickly at home! Just find the right tools and chemicals for the cleaning process.
Step #1. Evaluate your cedar chest
There are varying degrees of damage your chest may have, Empty it, and see how much work you should do.
Step #2. Vacuum the whole chest
Use a hand-held vacuum and adjust it to the gentlest setting. Go through the exterior and interior of your cedar chest.
Step #3. Wipe the exterior
You will need cleaning agents for this step. Make sure to choose the right chemical depending on the condition of your chest.
- Mild damage – Use any furniture polish with a furniture polish rag. Wipe outside in the same direction as the wood grain.
- Moderate damage – You may use white vinegar or Murphy’s Oil soap. These chemicals work best with mold stains.
- Extreme damage – Your secret ingredient for severe damage is bleach. Mix one dump of bleach in a gallon of water and wipe the mixture in line with the wood grain.
Step #4. Clean interior
Once you’re finished cleaning the outside, it’s time to work on the inside. Use the same chemicals as the exterior, depending on the degree of damage. Remember to always clean in the same direction as the wood grain.
Step #5. Clean the corners
Moisture from water damage can make mold grow in the dark corners of the chest. Sometimes, it’s too difficult to reach these spots using a bulky cloth. Try using a damp Q-tip to reach those snug areas and remove all the mold.
Step #6. Air dry your cedar chest
Now that your chest is all clean, the last thing you want is for mold to grow again. Leave the chest to dry outdoors for a day with the cover open for the best results.
Step #7. Sand the inside
This final step will remove any stains left, and it will bring out the refreshing cedar smell. Now your chest will be good as new!
Can Insurance Cover A Water Damaged Cedar Chest?
Insurance can handle several types of water damage, but does that include a cedar chest? Well, first, you need to determine if your chest is an antique.
Particular insurance companies are directed to antiques, and the insurance coverage can tackle anything from water damage to moth damage. Try to backtrack where you got your chest, and see if you can include it in an insurance policy. You can consult with a lawyer if you have concerns.
Conclusion
Damage is inevitable for your precious furniture, so you may feel overwhelmed when you spot tiny white marks. When you know how to fix water damaged cedar chest, you can maintain the beauty of your precious hardwood and keep your living space beautiful.
