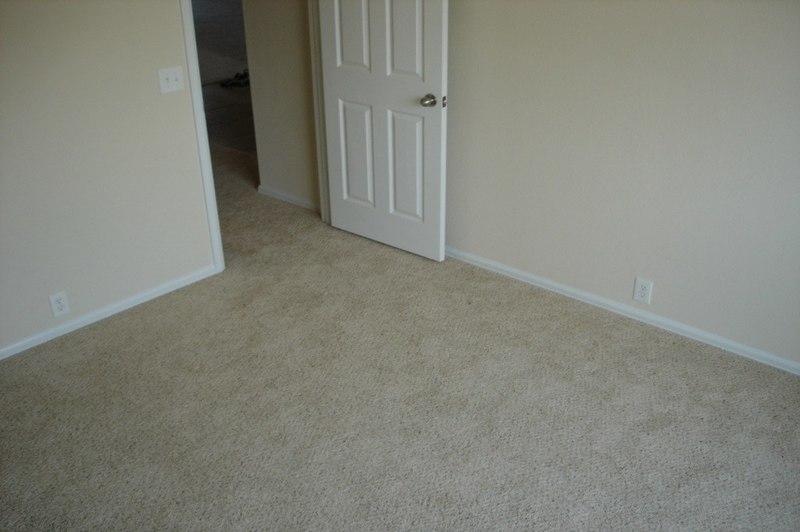
Knowing how to fix water damaged baseboard is a necessary knowledge and skill, especially when you live in flood-prone areas. You can repair your water-damaged baseboard by loosening it using a sharp utility knife.
We will tell you more of the steps on repairing your water-damaged baseboard below. We will also inform you about the signs of a water-damaged baseboard and what happens when you do not fix it, so read up until the end!

Steps On Fixing A Water-Damaged Baseboard
Step #1. Identify the affected areas
Whether caused by a leak or a flood, it is essential to identify the damaged area. Sometimes, it will be easy to spot the damage, especially if a puddle forms on a particular area of your baseboard.
However, if you only use puddles as an indicator for water damage, you are missing a lot. This is because cracks and peeling may also be indicators of water damage, so you have to watch out for those, too.
Step #2. Prepare your tools
After identifying the affected area, get the equipment you need. You will need a utility knife, a pry bar, a paintbrush, a hammer, a drill, and a sealant. You will also need wood fillers, wood glue, and pieces of wood, depending on the damage.
Step #3. Loosen the baseboard
To loosen the baseboard, use a sharp utility knife and run it along the baseboard’s top inside edge. This is done to break the old caulk seal.
In doing this, you have to avoid cutting into the drywall. You wouldn’t want further damage, so run the utility knife in smooth and even strokes.
Step #4. Remove the damaged area
After loosening the dashboard, remove the wet baseboard with a pry bar. Do this carefully and take your time into doing this so you won’t damage the surrounding areas.
Step #5. Clean the baseboard
After prying the damaged baseboard out, chip away glue residue using a utility knife. After removing the glue residues, sand the area down to ensure that the area is smooth.
If there is excess moisture, contact a professional because the leak may be persistent. Putting a new dashboard now would be counterproductive.
Step #6. Measure the replacement
Use the old baseboard section as a reference and find a replacement with the same size. If you are inexperienced in this, make sure you buy a baseboard a few feet longer than the damaged one. This is to give you room for errors.
Step #7. Paint to match
Paint the new baseboard before fitting them in place. This is far better than fitting then painting because the latter would need floor and wall protection.
Step #8. Cut and secure
After letting the paint dry, use a miter box to ensure that the ends of the replacement baseboards are at a precise 45-degree angle. To cut slightly inward behind the original miter cut, use a coping saw.
Afterward, apply caulk at the back of your baseboard and position it carefully. Then, attach it to the wall with nails and caulk it along the top to finish.
Signs of a water-damaged baseboard
1. Swelling
Swelling occurs when your baseboard absorbs water. This would either lead to the wall coming apart or the walls becoming distorted. If there is swelling on your baseboard, it may be caused by water pooling behind your walls.
2. Peeling
Peeling is caused by moisture from the inside walls. Hence, if your walls are peeling, your walls are sure to be compromised by water.
3. Stains
Water damage which results in mold growth, causes discoloration. If your walls have water stains and the stain’s size changes, then call a professional. This is because a difference in the size of the mark means that there is an ongoing leak.
4. Warped walls
Water damage from the baseboard affects the wall as well. This could lead to your wall warping, which would result in displacing your boards from their normal position. This is a severe issue wherein you’d need a water damage restoration expert’s analysis on the damage and instructions on what to do next.
What happens if you don’t fix water damage on baseboards?
If you replace your boards without adequately addressing the concern, then you run the following risks:
Structural damage
First, you are letting the water damage your home’s structure further by not stopping it. This could lead to your house’s material weakening.
The downside of structural damage is not just decreasing your home value, but it could also lead to accidents. This could result in a higher repair cost, primarily since most home insurance only covers accidental water damages.
For clarification on the topic of your insurance coverage, contact your lawyer and your insurance company.
Mold growth
Mold and mildew grow in a damp environment. Since they quickly reproduce, they can also affect your home on a larger scale. This would result in a decrease in your home’s structural integrity.
Moreover, mold causes upper respiratory tract irritation. It could even lead to asthma.
Conclusion
Following through the eight steps of how to fix water damaged baseboard may have been difficult, but we’re pretty sure you did well! Make sure to maintain your home well so you won’t have to go through this process all over again.
