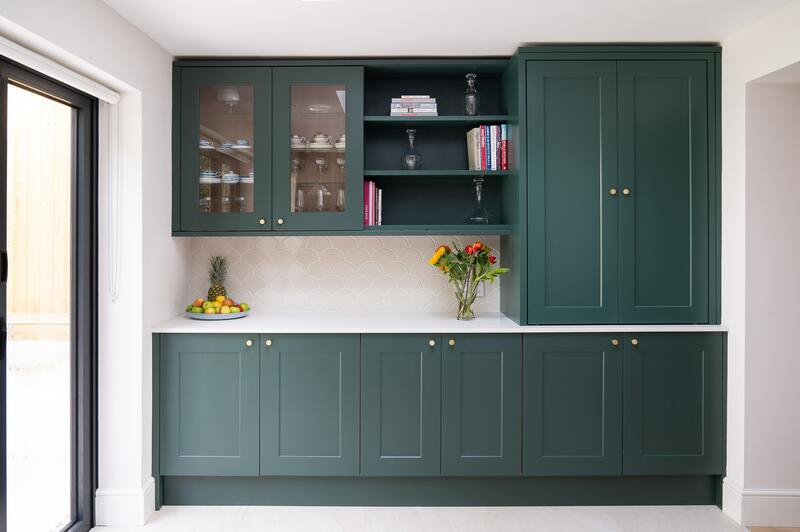
Looking to restore a wood’s finish? This article may help on how to fix the finish on water damaged kitchen cabinets.
Water from leaking pipes and moisture in the air leads to water damage in cabinets, as these cabinets can get swollen, causing the paint to come off and ruin the finish. It is essential to repair them as soon as possible before the damage gets worse.

What Are The Signs Of Water Damaged Cabinets?
Cabinets show water damage in different ways, for example, some cabinets like MDF cabinets look swollen in some places when water-damaged. This type of cabinet can have water seeping into them for long periods, causing the layers inside the cabinets to expand.
If a kitchen cabinet is losing its finish and is starting to become lighter or darker in color, it is possible that the cabinet is water damaged. If water is sitting on it for a while, water can make the finish of the wood fade and you may see noticeable marks on the cabinet.
Discoloration signifies you’ve had water sitting in one place for too long. It’s likely that the issue here is a leaking sink, water from outdoors, or just a splash of water staying in your cabinet over years of time.
To gain more insight about signs of water damage in wood, click this article.
Steps To Restore The Finish Of Water Damaged Cabinets
If signs of water damage look obvious in your cabinet, it’s time to follow the procedures below to know how to restore the finish of water-damaged cabinets.
Step #1. Check how damaged your cabinets are
Evaluate the condition of your cabinets. If the damage already came up to the point of no return, then replacement might be your best option.
You need to detach everything from your cabinet to check the damage thoroughly. Observe the corners, door hinges, and wood’s firmness.
Step #2. Identify the water damage source
Empty the cabinet and look for the source of water damage. If leaking pipes are the issue behind the damage, it’s advisable to contact a plumber who can handle the issue instead of fixing the pipes yourself.
Step #3. Remove the cabinets
Unscrewing the cabinets from the walls is the most time-consuming part of refinishing kitchen cabinets. If you’re unsure about the process, you may hire someone to do it for you.
Step #4. Dry your cabinets
Let your cabinets dry completely. You may use a dry piece of cloth to wipe off the wet areas inside the cabinet.
Place fans around the kitchen, so the cabinets receive the blowing air. You can open the windows to bring in more moving air, but close the windows immediately when it’s raining.
Step #5. Remove old finish
To remove an old finish from the wood, remember that there are two ways to do it. The first way is to sand it off, and the second way requires the use of a chemical stripper.
Sanding
Use coarse sandpaper, a sanding block, and a power sander to strip the finish off until the surface gets smooth. As soon as most of the finishes are off, you may now use medium-grit sandpaper to further make the surface smooth.
Use of chemical strippers
Chemical strippers can effortlessly strip the finish of the wood. They are liquids or gels that dissolve paint products without dust or paint chips, and they’re ideal for hitting spots you may have missed with a heat gun.
Spread the stripper over the wooden cabinet using a bristle brush. Remember to let the stripper sit based on the amount of time recommended by the product, the surface should wrinkle up before you can peel it off with a scraper.
Step #6. Apply a coat of sealant
After stripping the finish, and letting it fully dry, it’s time for the coating process. If you’ve used a chemical stripping product, you may sand the wood using 120 grit paper to ensure you’ve completely eliminated any residue.
Seal the wood to prepare it for staining. A sealant protects the wood and creates a base for the wood stain to spread evenly.
Apply a thick coat of sealant using a paintbrush and let it soak into the wood. Wipe off any excess sealant using a clean rag, and once the sealant dries, sand down the wood surfaces again using fine-grit sandpaper.
Step #7. Stain or paint the wood
Once you’re done applying the sealant, it’s now time to stain or paint the wood. If you don’t prefer the existing color or grain of the wood, you can paint it with a different color.
There are a lot of options to pick from when it comes to wood staining as there are oil-based, water-based, or gel stains. Ensure that you follow the instructions on the label before starting to stain.
Step #8. Apply a coat of finish
The last step after staining or painting your cabinet is to apply a finish coat. There are many wood finishing products to choose from and your choice should depend on several factors such as durability, the type of wood your cabinet is made from, and the look you desire.
For wood finishes, you may choose to apply oil finish, wipe-on varnish, polyurethane varnish, wax, water-based finish, lacquer, and shellac.
Conclusion
After reading this article, you now know how to fix the finish on water damaged kitchen cabinets. Before proceeding with repairing a water damaged cabinet, it’s necessary to check the source of the water problem.
Feel free to contact a professional if you can’t identify the source of the problem. After solving the water problem, you can now follow through with the steps in refinishing a water damaged kitchen cabinet.
For more information, check out this article to know how to save water damaged wood furniture.
