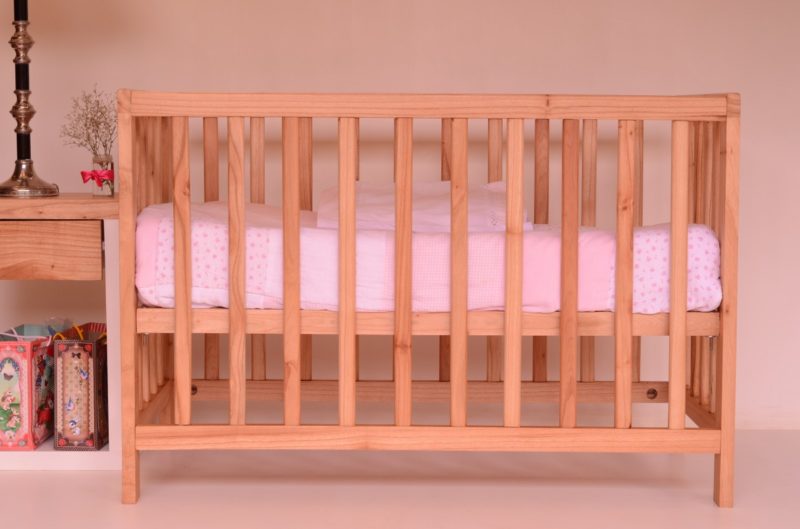
Are you having a problem with your bed rail, and you want to know more about “how to fix a broken bed rail?”
Do not worry because we will help you out in finding answers to your questions.

In fixing your bed rail, you will have to go through many steps to get it done.
But we are going to discuss those further as we go along with our article. So keep scrolling and read with us.
Before we start on the steps, you first need to know what bed rails are. If you have ideas, you can skip this part.
Your bed rails are the things you consider as slats that connect your headboard to your bed until the footboard.
The only reason that allows the bed rail to break is when you loaded more than the capacity it should hold.
Steps To Fix A Broken Bed Rail
When you say that the bed rail is broken, you can’t tell where the crack was located.
It is mainly seen to give you a clue, and it mostly happens on the end of your bed rails.
That means that it is nearer on the footboard, but that does not mean that you cannot find it in the other bed areas.
So, how to fix a broken bed rail?
With that, let us proceed with the steps that you need to follow for you to fix your broken bed rail correctly.
Step #1. Prepare everything
Before we start with the proper steps on how we fix our broken bed rail, we have to remove many things.
Let us start with the mattress, bedsheets, coatings, pillows, box springs, and all the other accessories found on top of your bed.
As for the slats, just let them stay in the area where it is located for now. That will lessen the impact.
Step #2. Try to open the split by prying
So, the first step that you will need to do is to pry open your splits using a mini tool.
We need to do this slowly and gently. As for the crack or the splits on it, you must clean it with a knife.
As much as possible, use a utility knife or any small knife.
In that way, you will have greater access to it.
Step #3. Add some glue
The next step is about adding glue to the cracks. It will serve as a filling inside, making sure that it won’t develop more.
You can use the tip of the glue to make sure that it fits perfectly. And then you can try to use a thin-bladed knife.
In that way, you can poke the inside of the crack, and the glue would spread inside the gap.
Step #4. Use some clamps
When you fill all the splits and cracks with glue, you need to tighten the clamps on the bar along the area.
You can use C – clamps instead as an alternative. But then they do not work the same when it comes to its strength.
Leave the clamps there overnight for it to hold tightly and look better the following day.
Step #5. Make some support piece
In this next step, you will need plywood for your support piece. It will be the support for your bed frame.
You need to measure first the bed frames’ width but must measure the insides of it.
Then you might also need to measure the insides of your split length. Add 6 inches more on the split length.
Cut about ½ inch plywood for every measurement you have.
Step #6. Pre-drill holes
This step would be about drilling holes on the support. But it would help if you did this randomly.
But take note that each must have at least 2 inches in between. So then, in drilling, there is a recommended tip to use.
A 3/16 inches tip orbit is highly recommended. By doing this, you still need to take note of other aspects.
Such as the screw holes. They should not line up with the drilled holes you would do right now.
Step #7. Place the support made
In this last step, you will see all the hard work you made go into something that looks good and better.
You now need to attach the support you have made to the bed frame. Again, it would help if you used wood glue.
Apply it on one side of your wood support. Then place this on the area you fixed earlier.
Then drive some screws that are about 1 inch through your support. Use pilot holes.
Before you put it back to use, you have to make sure that it looks better and can function well.
Let it dry overnight before you return all the things you removed before you started the renovation.
Read this one if you want to know what bed frame is.
Regardless, that is all.
Conclusion
And we are now done with our article. We hope you have learned a lot from us today.
With this article, we have successfully answered: “How to fix a broken bed rail?”
You can now start to fix your bed rail.
