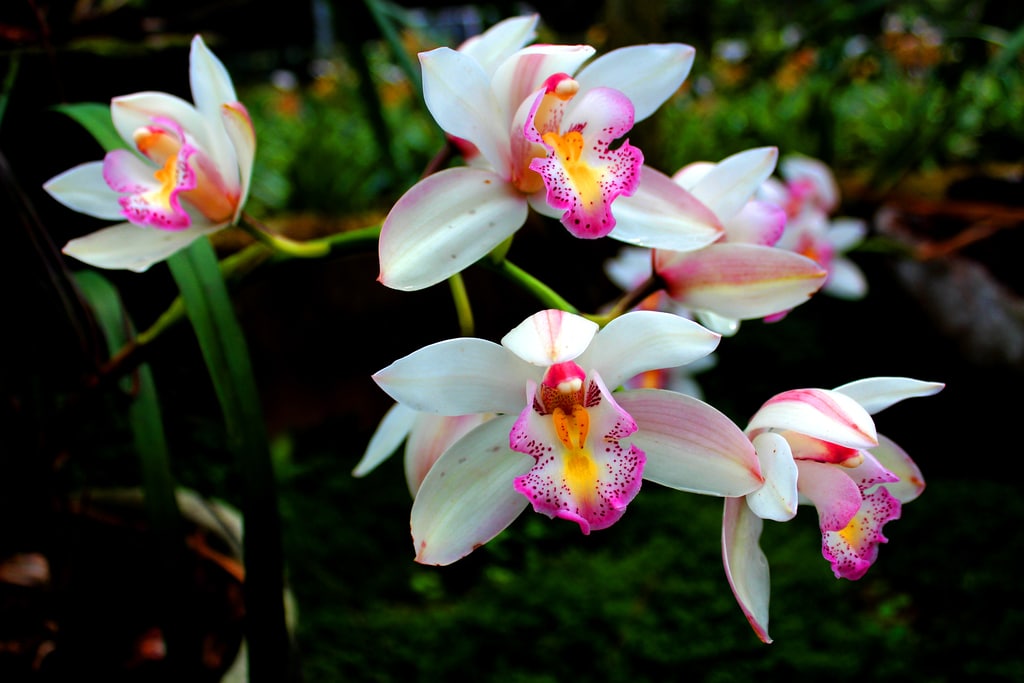
If you’re unsure how to divide orchids the right way, you can simplify it into four steps. With over 22,000 species available, it’s not surprising that gardeners want to learn how to divide or propagate orchids in general. Nonetheless, the division is the best propagation method you can do if you’re going to clone orchids and create more copies of your beloved flowers.
While orchids may not be the most beginner-friendly plant to grow, meeting their growing requirements and optimal conditions should guarantee success. Those who don’t trust their climate and outdoor conditions can consider growing orchids in the greenhouse to prevent potential problems. If you’re growing orchid divisions, using a controllable and stable environment like the greenhouse will indeed support their growth and survival.

How To Divide Orchids For Beginners
Step #1. Preparation
Like how you’ll divide most plants, you want to prepare your parent orchid plant before starting anything. You’ll have an easier time freeing it from the pot if you water it first and let the water drain to create a moist medium. Be careful not to damage any roots, so keep a clean knife within reach for removing stuck roots on the pot.
You also want to clean the plant from its previous potting medium. The residual medium often causes root rot with division because it creates damp pockets on the new mix. The old potting medium is even prone to deteriorating, so make sure to remove it as much as possible.
Once your roots are free of the old medium, check for damaged or dead roots, and remove them with sterilized pruners. What do healthy orchid roots look like? You’re looking for greenish-white or chestnut brown color, and they should feel firm to touch compared to mushy and black dead roots or papery dehydrated roots.
Step #2. Division
Up next is the orchid division and you should have a head start since there are noticeable markers for splitting it. What this means is that you’ll notice points that show the orchid growing in separate directions. These areas are good indicators to know where to divide the root ball.
You can divide them by hand or sterilized knife as long as you aim to have three pseudobulbs per division. Having three pseudobulbs in each division is optimal to ensure that the orchid will flower again next year, and the waiting time is not as long as having less.
You may also need to remove dried or dead pseudobulbs if you’re using an old orchid. However, it’s okay to leave and try to grow some back bulbs can grow. They can take some years to do so, so some gardeners use the ones with active growth instead.
Step #3. Repotting
Once you have your divisions, you can repot them in clean and sterilized containers. What size container should you use for orchid divisions? In general, you can choose any pot as long as it is big enough to accommodate and anticipate the orchid’s growing root system.
However, you don’t need to immediately get a large pot because it may not dry quickly. You can always repot and increase a size up as you go. The bottom line here is the best pot should fit the roots or at least two years of growth from dividing.
Additionally, the container should provide good drainage and airflow to save you the risks of diseases. What medium should you use with your orchid divisions? Any potting mix should support their growth, but gardeners tend to get more success with perlite, sphagnum moss, and charcoal.
Once you have everything for planting ready, you can grow sympodial orchids in a way where their new growth faces the center, and the oldest pseudobulb is against the edge of the container. This orientation should provide enough space as your orchid grows. More so, it would be best to have the rhizome just below or at the same level as the top of the potting mix, and you may have to add stakes for support as the orchid establishes itself.
Step #4. Maintenance
After planting the divisions, you can water them immediately but wait for several weeks before you start fertilizing. As your plants are growing, you want to check the medium and maintain its moisture regularly. Of course, you should also be always on the lookout for signs of pests and diseases to isolate infected plants and quickly treat them.
Gardeners often start fertilizing with slow-release fertilizer after the month. Afterward, you can use liquid fertilizer monthly to help the orchids bloom in winter. You can use the greenhouse to adjust the conditions as the orchids grow, but make sure you’re providing the specific needs of your orchid species as well.
Conclusion
Orchid propagation may seem intimidating, but learning them would help you have a thriving garden in the long run. If you know how to divide orchids, you can easily create copies of your favorite plants without buying them. To do so, carefully remove the plant from its pot.
You’ll then remove all the previous medium and dead roots before putting the divisions in their new pots. The new pot should be big enough to accommodate up to two years of growth, and the medium inside could be any moist potting mix. Afterward, maintain moisture and wait for a month before you fertilize the orchids.
