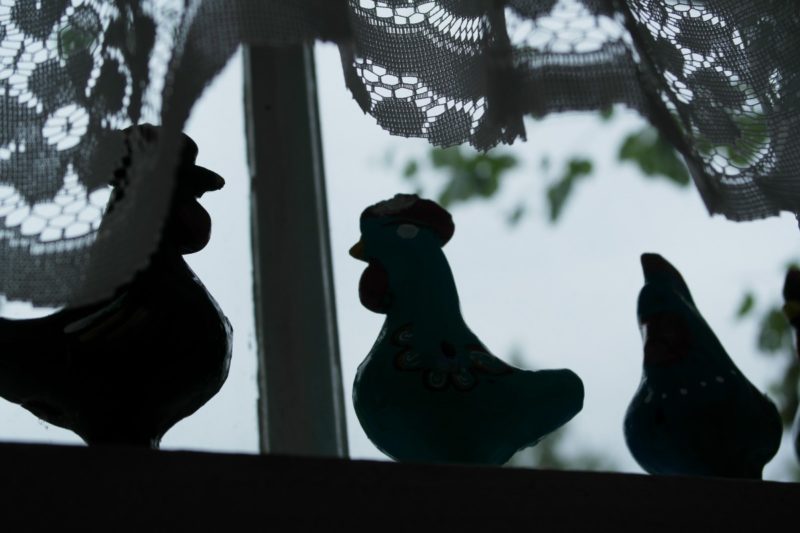
Have you ever wondered or thought about how to crochet curtains?
Curtains are already good just by themselves, but for the most part, some may look plain, dull, or even repetitive for you.

One way to avoid that is by learning how you can crochet curtains which we’ll teach you later on in this article.
Crochet is how you create textiles using a crochet hook to interlock different types or strands of materials.
They may be hard to make and can also consume a lot of time, but the result of it will be worth the wait for you.
That is just a little bit of information for you to know how to crochet your curtains.
So stay with us until the end of the article as we answer this question together.
Steps To Crochet Curtains
Curtains are necessary to own in one’s home as this can make your house look more aesthetically pleasing or even protect you from dust or heat.
Curtains can be found almost anywhere in the world already.
Ranging from stores to malls, they got it all for you.
With the situation that is happening now, more and more people come up with unique ideas, so there are many styles or patterns for you.
But, what if you don’t have enough money for your desired curtain?
Here, you can follow these steps that we’ll provide to achieve that aesthetically pleasing look for your home and your curtains too.
It will take a lot of work to do but trust us. The results will please you.
So, here are the steps on how to crochet curtains:
Step #1. Preparation of materials
Crochet is one of the cheapest hobbies and will cost you a tiny amount to achieve a product that will surely captivate other’s eyes.
When getting into crochet, you should be ready with all the essential materials that you need. They aren’t that hard to find.
One basic need for this is the yarn. It will serve as the fiber of your curtain. Crochet hooks and tapestry needles are a necessity, too, so don’t forget about them.
Step #2. Slip knot making
To start the process, to begin with, lay the yarn on a flat surface and loop it.
But, first, making sure that the short piece, which is also called a tail, must be above the long piece.
After you’ve done this part, flip it going to the longer one while grabbing the middle one and pull its center thread out softly with your thumb and forefinger.
Hold on to the tail and tighten the string afterward.
Step#3. Tighten the loop
Now for this step, start by picking up the loop that you made on your hand (left) and let the hook slide into the loop and encircle the hook with a loop and tighten it.
Please do not make it too tight to avoid any problems with the following steps.
Step#4. Hold the thread
Twist the long side of the string over your index finger and around your pinkie.
After that, grab the short side and its tail with your ring and middle fingers.
Remember to always hold the hook with your right hand, which can make a big difference when doing crochet.
Step #5. Making a chain
Begin by wrapping the thread around the hook and pulling it through the loop for the first chain stitch.
Remember, do not make the loop too tight to have easier access when pulling the threads through the loops.
When finishing the chain, pull the loop that you made earlier to the second loop by pulling the thread through it.
Continue doing this up until you can form a chain.
Step #6. Begin doing the first row
Start this step by slowly inserting the hook in the second chain from the hook to begin the first row of single crochet.
Your hook now has two loops around it.
This part is crucial as this may affect the overall result of the product, so be careful with doing this.
Step #7. Crochet the chained row
This step will also be a crucial one as this can affect the overall aesthetics of the product.
But to avoid that, here is the final step before finishing the whole crochet process.
With the hook, catch the thread in your left hand and drag it into the loop that comes first.
It will give you loops about two of them on your hook once more.
Through your hook, hook the yarn and pull going into each loop. Continue in this manner until you reach the edge of the row, which should be chained.
Repeat this process by crocheting more rows you can do by chaining a stitch to the other end of the rows you made.
Afterward, turn your crochet over to start the next row without any problems until you make it into your preferred style or design of curtain.
To finish this off and have your new crochet curtain, cut the excess, which is the long side of the thread, and then pull it through the loop.
There you go, you now have your very own handmade and also a homemade curtain made especially by you!
Conclusion
Alright, now that we have answered, “How to crochet curtains,” I hope you will be enjoying the art of crocheting.
