How unfortunate is it that damage has already been dealt and you now need to find out how to conceal water-damaged plywood on the ceiling before you find out something’s leaking up there? As regrettable as that is, such is the fate of hidden and not easily accessible parts of your house.
If your house has an attic, then there’s a much smaller space separating the actual rooms in your home. A perk from that is that if your roof is in trouble, a leak is easier to spot as it’ll present itself more readily in the attic, provided that you do visit that area often.

When you don’t have an attic, though, the chances are that your roof is elevated quite a distance away from your ceiling. Combining this with non-porous and paint-coated plywood as your primary ceiling material, the water damage that may be occurring at the top is invisible to your attention.
Steps For Smooth Concealment Of Water Damaged Plywood In Your Ceiling
Have you noticed the trend by which we try to hide imperfections that we cannot change? That’s right; we cover it up!
Whether it’s in our own body or in what we have, living with imperfections becomes a lot easier when they’re in a presentable form. Concealing damages in your home does more than for appearances; doing such helps you save from the unnecessary expense of completely changing an otherwise usable material.
Here are the steps you should follow to successfully hide the water damage in your ceiling.
Step #1. Stop the cause of damage
While our topic is concealing defects, it’s unacceptable to start covering without handling what’s causing the damage. Your roof definitely didn’t get finished with a hole in it, so it shouldn’t remain with one.
If the leak just started, say on a storm, then the water damage should be reversible, given that the plywood kind you have allows for it. Of course, your safety is more valuable than your ceiling, so if there’s a storm outside, just get a bucket and catch the leak first, then work on it when it’s safe out.
If the water damage didn’t happen from forces of nature, though, then a pipe from your water distribution lines or HVAC system that passes above your ceiling may be the culprit. Such sources are also the common reason for water damage that hasn’t been noticed previously.
Your priority in this process is to stop this leak before the concealment. Repairing the leaks is a must since if you don’t, further damage will happen, and the layers you’ll later add to the cover-up will just get destroyed as well.
Make sure you check if the leak did really stop after the repair before moving to the next step.
Step #2. Address the present damage
As we mentioned previously, there are certain plywood types that allow for damage reversibility as long as it’s within its yield limit. Water commonly makes plywood deform out of its original shape, bending and expanding outwards.
You can try lessening these deformations by removing as much water off it as possible; that’s why you needed to pull through the initial step before this. Not to mention that any attempt to conceal the damage would prove to be futile if the wood surface and bulk are still wet.
Note: don’t forget to rent a roll-ff dumpster to collect all waste outside.
Open this article next if you want to know why does wood get damaged by water.
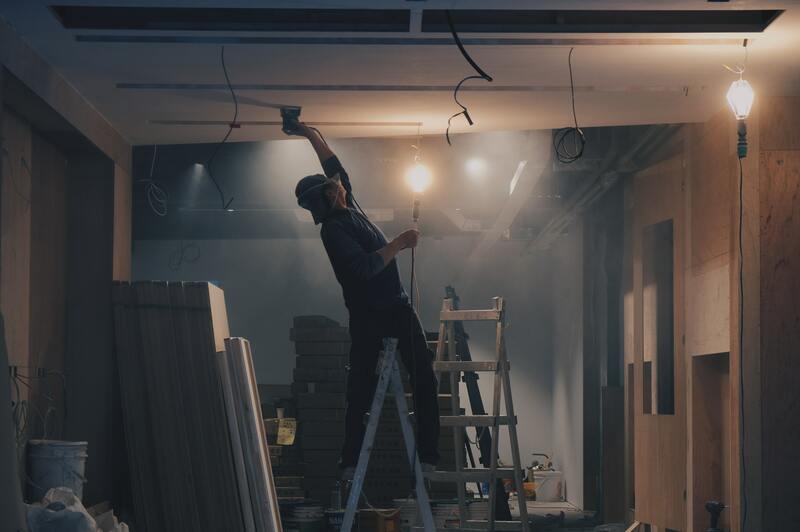
Wipe the area of damage with a dry cloth first. Since you’re working on the ceiling directly, you’ve probably propped up a ladder; make sure your elevation is stable, and wear a mask and goggles before you start cleaning.
After wiping, you can try a wet vacuum or blow-drying the extremely wet parts. Note, though, that trying to fix completely rotten wood will only cause more damage, so if the plywood already turns to mush with a slight touch, you must replace it.
Step #3. Sand and repaint the damaged area
For water damage on plywood, staining in dark brown and similar shades is common even with previously painted surfaces. While some of these stains come off with proper cleansing techniques, you can cover them up for better looks.
After it’s all dried up, find some sandpaper to scrape off the old paint, which is stained and has bubble-like indentations and uneven surfaces. Just slide the sandpaper along the damaged surfaces, but be careful you don’t inhale the dust coming off it.
After which, dust off the areas you worked in, then wipe it with a clean and dry cloth. You can prime the surface with a white coating first, then apply new paint or use a product that no longer requires priming.
If you worry that there’d be a leak in the same spot again, you can also paint over the top side of the ceiling.
How to prevent water damage on your ceiling
Water damage becomes a natural and inevitable occurrence for unmaintained roofs. So to keep your ceiling unharmed, you must regularly and adequately maintain your roof.
You can also do the following,
- Install an opening in your ceiling that’s accessible for repairs.
- Check for leaking pipes regularly.
- Coat your ceiling materials with a water-repelling substance.
- Use more reliable roof and ceiling materials.
Here’s another useful article on how to partially replace water damaged siding.
Conclusion
Knowing how to conceal water damaged plywood on ceiling is a piece of necessary knowledge, especially if you’re not one to waste resources on sudden repairs. Ceilings are part of what makes your home comfortable, so they must be both pretty and strong.
