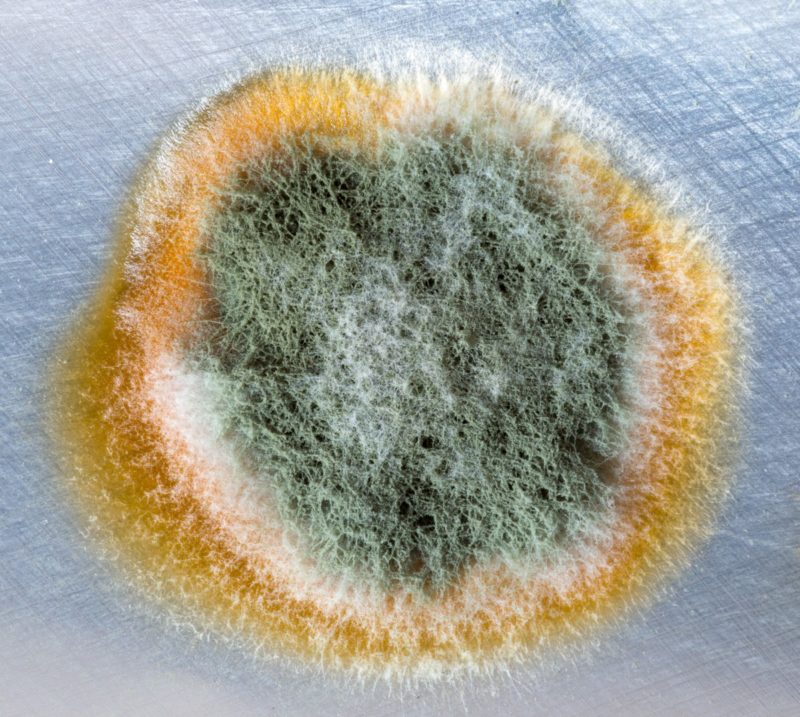
Are you interested in learning about how to clean mold out of fridge? We gathered about eight crucial steps that you should do remove all suspected growth from your fridge. And also to keep the surfaces clean for your food.
You must be curious why molds are growing in your fridge. Well, these organisms evolve in habitats that have a sufficient amount of moisture. And your fridge is one of the best places for them to grow and spread.
However, you should remove them immediately to prevent them from developing onto your stored produce. This article will help you out if you don’t know where to start cleaning and the proper way of doing it. Let’s start!
Steps To Clean Mold Out Of The Fridge
These steps will include cleaning the inner surfaces of your fridge. And after reading this, you already know what to do. However, it’s still necessary to call in a professional to check the electrical components of your fridge to check if there are any molds. It’s more dangerous since other parts can allow them to spread rapidly.
Without further ado, these are the steps on how to clean mold out of fridge:
Step #1. Turn off your refrigerator
This step prevents consuming too much energy and increasing your electrical bills without even using the appliance. If your fridge has advanced technology, turn it off through its settings or thermostat. Unplug the main cord from the outlet after that.
Step #2. Relocate all produce and compartments
Before starting, wear protective equipment since you’re handling mold. In this step, we’re going to clear out your fridge to have better access for cleaning. Next, store all products in a clean space or container. Or you can put your fruits and vegetables in a ziplock bag. And for your meats and other frozen goods, place them in an icebox.
After relocating all goods, detach the removable panels or compartments from the fridge. These compartments include your ice cube trays, shelves, crisper, and side cases. However, don’t force other storage baskets if you can’t remove them.
Step #3. Prepare your mold remover solution
As much as possible, don’t use household products, specifically bleach that have toxic chemicals in cleaning your refrigerator. Note that we’re dealing with an appliance that serves as storage for your food.
These chemicals can bring harm to you and your food once they penetrate them. I
nstead, use distilled white vinegar or baking soda solution in cleaning. Fill the spray bottle halfway with any solution you would like to use. Both can remove mold efficiently like any other toxic household product.
Step #4. Spray the detached pieces
Note that if the piece is damp or there are some puddles of water, drain them. You may also use a fresh towel to wipe them clean. Then, we start with spraying the compartments that we removed earlier. Ensure that you spread the solution evenly, including the tight spaces and narrow edges.
Some of these panels have rubber covers on the sides. You can detach them from the piece and spray the groove or hollow side with your home remedy solution. Let all separate pieces dry and move on to the central unit of your fridge.
Step #5. Clean the fridge
If you can observe puddles of water, drain or wipe them off with a clean cloth. Then, spray all areas with your chosen solution. Ensure that all areas, especially those that are inaccessible or not given enough attention, are well-sprayed.
Allow a few minutes for the remedy to work its magic.
It can prevent ongoing mold growth and make them easier to remove. Scrub or brush all moldy areas and remove those filthy mold populations.
Next, wipe the surface with a clean cloth. And repeat the cleaning process over and over again until all edges and corners are immaculate. If you are not contented, you can sprinkle baking soda onto where the molds have been resting earlier. Please leave it to settle for a couple of minutes. Then, you can wash it off with your vinegar.
Step #6. Wipe and dry
Wipe off all surfaces with a clean cloth and let the parts and the refrigerator’s interior dry. Next, gather all rags, scrub, and materials you used earlier in cleaning the fridge. Soak them in water, detergent, and bleach solution in a large container. This procedure will prevent the molds from spreading and will eliminate them eventually. Let them soak for about 10-15 minutes.
Step #7. Segregate the food
While waiting for the fridge to fully dry, you can segregate your goods into categories. And you can throw away others that are already expired. You should also inspect your fruits and veggies for mold development, mainly if their location is near the moldy regions. Dispose of goods with suspected molds because they can be toxic when eaten.
Step #8. Put them all back together
Reattach all compartments and shelves that you removed earlier. Make sure that they are in the correct location and placement. After pieces are secured, you can start placing back all undamaged goods and meat. Then, plug the main cable, and your fridge can operate again.
Wrapping Up
And that is how to clean mold out of fridge. Don’t forget to call in a professional to examine the inner components of your fridge. Once it’s clear and does not have any molds, you can use it again.
Try maintaining your fridge once a month, which includes cleaning the inner surfaces and draining the water. This measure can provide you better storage for your goods. So, best of luck!

