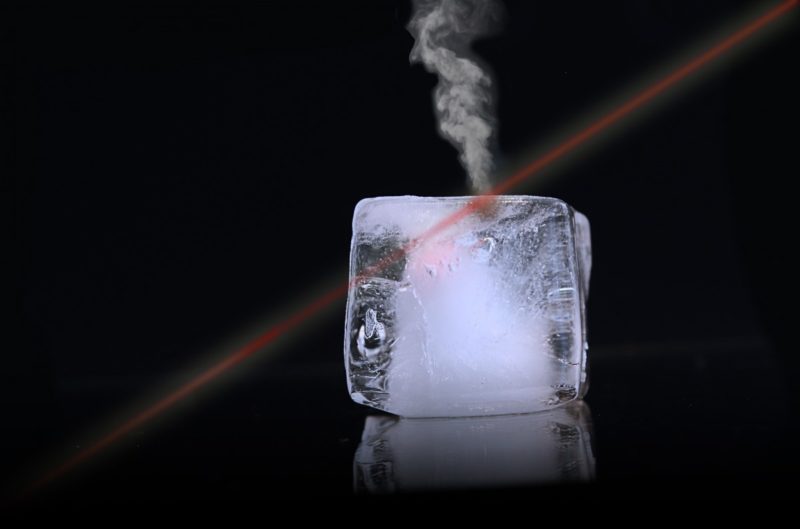
Have you noticed cloudy ice cubes coming out of your dispenser, and you want to know how to clean fridge ice maker? This procedure is necessary, and you have to clean it at least twice a year. So, we round it up to about eight steps, and you should take note of them.
And once you’ve finished reading this post, you won’t need to return to it since you’ll already know what to do. Ice is made by freezing water, so there might be molds and other contaminants growing in there.

Or the filter needs changing since it’s unable to prevent minerals from passing through the pipes. Finally, note that it’s dangerous if you ignore the cloudy ice tubes or their unpleasant smell. You might risk yourself having health problems. So, we should add cleaning the dispensers to our fridge maintenance. It could avoid any further damage to you and your unit. Also, you can save money by following the steps below. Stay on track!
Steps In Cleaning The Fridge Ice Maker
Modern refrigerators have a standard feature, which is the water and ice dispensers. And when you look at their purpose, they’re convenient, and you don’t need to put a pitcher or fill up the ice tray anymore. Your fridge does it automatically.
But you still have the responsibility to maintain the water quality to avoid getting digestive problems. So, we gathered and summarized all essential steps on how to clean fridge ice maker. And here they are:
Step #1. Turn off the ice maker
You can check your manual for this step since not all refrigerators have the same settings. However, some have symbols for the ice maker that you can turn off by pressing it once. Each press indicates off and on only. But some have three or more indications. For example, when you press the ice button once, it will switch from cubed ice to crushed ice. So, press it again until you reach ‘No Ice.’
Step #2. Unplug your fridge
The overall process won’t take long but if you want to save energy, then follow this step. Press the power button on the front door settings and unplug the main cable from the outlet. This step is also necessary for fridges that don’t have controls for the ice dispensers. Finally, you need to turn off the refrigerator to stop the ice maker from producing ice while you’re cleaning.
Step #3. Take out your ice bin
Before removing the ice bin, you need to ensure no ice remains on the molds. They can be full of harmful contaminants, so we have to dispense them. So, you can wait for them to slide off, or you can twist the molds to remove all ice. But this step varies since all fridge units are different.
Most ice bins slide off when you pull them. But some are larger, and you need to lift them upwards to detach them from the fridge. Once you removed the bin, dispense all ice to the sink. Use an ice pick or any sharp tool to remove excess ice or frozen water clinging to the surface, but be cautious not to harm the equipment.
Step #4. Prepare your cleaning solution
Note that we should avoid cleaning the fridge or its components with chemical-containing products. Instead, we should use organic household products so that no chemicals could penetrate our food or ice. So, you can use either vinegar or baking soda.
Baking soda can simply clean and sanitize it if you don’t observe mold growth on the surfaces. In a bowl of hot water, dissolve 2-3 tablespoons of baking soda. But if you choose to use white vinegar, you can add water to it or leave it as it is.
Step #5. Clean the ice bin and mold
Use a clean cloth or sponge to clean the bin. First, soak it in your solution and scrub the container on both the interior and exterior. And you can leave it to settle for a few minutes before rinsing. You can also spray a small amount of your solution to the faucet where the ice comes out and scrub it using the sponge. Then, wipe the ice molds with your cloth or sponge soaked in the warm baking soda solution.
Step #6. Rinse
For your bin, you can rinse it with warm water. Meanwhile, you can use a clean damp cloth for the faucet and ice molds to wipe them clean and dry. Ensure that you cleaned all corners.
Step #7. Replace your filter
Your filter also plays a massive role in keeping the ice clean. So, if there are any changes in its taste and components, the filter is responsible. You can directly replace the filter and make sure that the water entering the unit is safe to drink.
Step #8. Let it cycle
Once you placed the bin back, turn on the unit and ice maker. Let the dispenser make two or three cycles of ice and check if it’s working. If there are still some problems, consult a professional.
Conclusion
And that is how to clean fridge ice maker. The steps are easy to follow, do you agree? So, don’t wait a little longer before addressing this problem. Or you will encounter health problems if you let your dirty fridge ice maker contaminated.
To be healthy, make sure the water you drink is safe to drink. We hope this article answered your problems and made things easier for you. Regardless, have you ever wondered how long does an air conditioner needs to deice? If yes, then we suggest you read that one.
