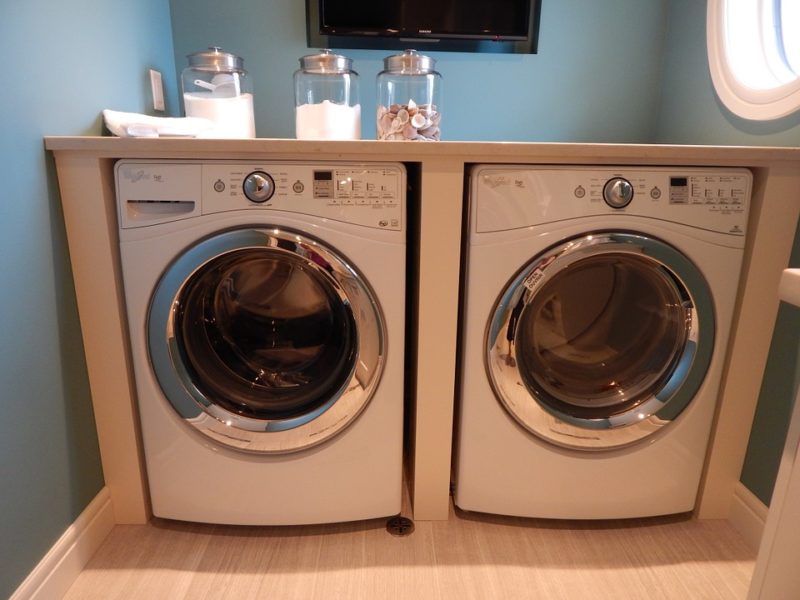
It is essential to understand how to clean a Whirlpool dryer. The maintenance of the dryer is necessary to avoid any issues later. The dryers are required appliances for every household. Whirlpool manufactures many electrical appliances such as dryers, refrigerators, washers, and many more. The Whirlpool dryer makes your laundry fresh, clean, and ready to be used again.
The dryer needs good care and proper cleaning once in four months. The dryer saves time, energy, and space. The dryer has made drying clothes easier for people living in small homes and apartments. Air drying is an option but, it requires space and time. In case there is climate change you cannot air dry the clothes.
Therefore, purchasing a dryer is beneficial. Regular use of the dryer can cause lint and debris build-up. With time the dirt also sets on the appliance. Keeping the dryer clean is necessary. The lint should be removed, from the dryer as it is flammable. The lint build-up can cause a fire. So let’s have a deep look at it!
Steps To Clean Whirlpool Dryer
To learn how to clean a Whirlpool dryer. Read the steps carefully and follow them exactly as written. Keeping your dryer clean is essential for fresh laundry.
Step #1. Switch of the appliance
Remove any clothes that are in the dryer. Then turn off the appliance and switch off the gas supply line. This step is essential for safety purposes. You should never begin cleaning the dryer which is connected to electricity and gas.
Step #2. Pull the appliance
Gently pull the dryer away from the wall. You have to move your dryer slowly from the wall. Be very careful not to scratch the floor. Scratching the floor while pulling the unit might leave permanent marks on your flooring. You can use appliances glide to make your work easier. The gliders can be purchased from any store. Place the gliders under your unit and push it forward. It will not cause any harm like scratches or tears on your flooring.
Step #3. Clean the lint filter
After pulling the appliance away from the wall, you will be able to see all the gunk and debris accumulated behind it. Before cleaning the dust behind the dryer, you must clean the lint filter and the vent. You can easily locate the lint filter on the appliance. It is located on the front of the dryer. Remove the filter and wash it with soap and water. Eliminate all the accumulated lint from the filter. If the filter is damaged you will have to replace it. Before placing the filter back, vacuum the filter slot, so there is no lint left inside. Here’s remove dryer lint.
Step #4. Vacuum the vent
The most crucial part of cleaning the Whirlpool dryer is cleaning the vent. The vent eliminates moisture from the dryer and keeps it ventilated. The lint from the laundry in the dryer can flow into the dryer vent and form a clog. The clogged vent cannot eliminate moisture from the dryer.
The clogged vent can cause the dryer to overheat and, you will find damp clothes at the end of the dry cycle. To clean the dryer vent, pull it from the exhaust hood. Use a vacuum to clean the exhaust hood. Then vacuum inside the vent. To double clean the vent, use a stiff brush that is available in the cleaning kit. Attach the stiff brush to the power drill and push it deep inside the vent. Once the stiff brush is inside the vent, turn on the drill and clean the vent thoroughly.
You may also be interested to know about how often to clean a dryer vent and how to tell if your dryer vent is clogged.
Step #5. Vacuum the floor and walls
After cleaning the vent, attach it again to the exhaust hood. Use a vacuum to clean the dust and debris. It is better to use a vacuum rather than a broom and dustpan. Vacuum the floor and wall behind the dryer. Ensure that you clean under the dryer as well. The area under the dryer is most neglected. The lint, dust, and detergent might be fallen under the dryer. Therefore, you must clean it in depth.
Step #6. Clean the interior and exterior surfaces of the dryer
Next, to clean the interior and outer surfaces of the dryer, use a cleaning solution. You can buy a commercially available cleaner or make one at home. You can make cleaner at home using things available in your kitchen. Take two cups of water and add a few drops of dishwashing detergent to it. Mix the solution in a spray bottle. Spray it inside the drum and use a sponge to scrub it. If there is a smell coming from the dryer drum, you can add vinegar to the cleaner. Vinegar gets rid of any mold and the smell from your dryer. After applying the solution, clean it using a rag or an old t-shirt.
Step #7. Reconnect the dryer
After cleaning the dryer, leave it for fifteen minutes to dry. Then connect the gas supply line and switch on the dryer. Congratulations! You have cleaned your Whirlpool dryer.
It’s A Wrap!
At this point, you must know how to clean a Whirlpool dryer. Follow the steps given above and, you will clean the dryer within an hour. The deep cleaning of the dryer is as important as cleaning any other appliance. The lint build-up can cause the dryer to overheat and can cause a fire. Therefore, it is necessary to clean the dryer three times a year.

