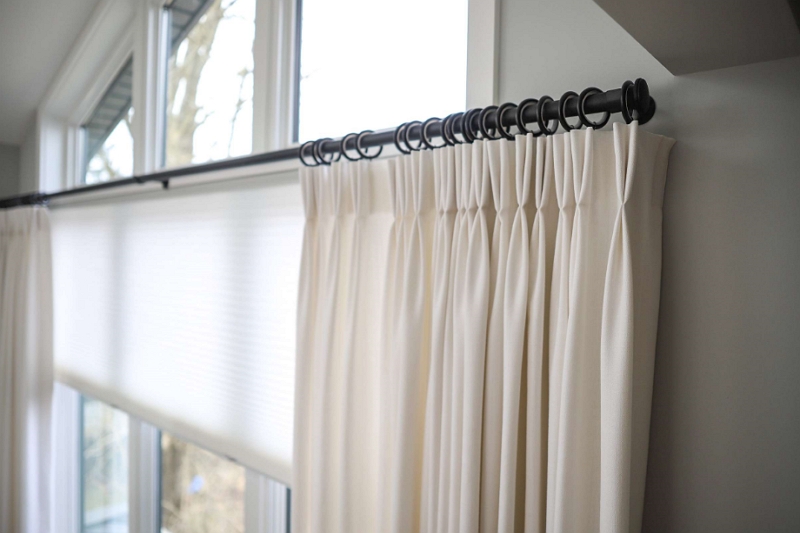
Light filtering curtains are a great way to improve the quality of light in your home, and they also help regulate your temperature. If you have ever wondered what these things are or how they work, then this blog post is for you! We will discuss what light filtering curtains are and how they can benefit your home.

What are light filtering curtains?
The first thing that we should clarify is what light filtering curtains are. In simple terms, these curtains allow some natural light to come in but block out the majority of sunlight and other types of artificial lighting.
The best way to describe it would be to combine blackout and sheer curtains because they also provide you with privacy as traditional sheers do.
The reason light filtering curtains are so beneficial is that they help regulate your temperature. This curtain-type blocks out the majority of sunlight, which cuts down on heat gain and loss.
Light filters will also protect you from glare and reduce electric bills by lowering cooling costs during hot summer months when air conditioners need to work harder than usual.
Types of light filtering curtains?
Types of light filtering and what to look for
Blackout curtains are designed to keep out all-natural sunlight, giving you complete darkness. This curtain type is ideal if you’re often up late at night or have many sensitive plants nearby that need total protection from the sun’s harsh rays.
But blackout curtains will also make your room much more difficult to heat, meaning you’ll need a lot of supplemental heating.
Room-darkening curtains offer a balance between keeping the sunlight out and letting in some natural light. These curtains do an excellent job of filtering harsh sun rays, which is ideal if you have sensitive plants nearby or need to sleep during daylight hours.
Light filtering vs. Room darkening: what’s the difference?
Light filtering curtains are specifically designed to filter the sun’s harmful rays but allow natural light. This is perfect if you don’t want total darkness all day long or can’t afford blackout curtains that will make your room difficult to heat.
Room darkening curtains are a good balance between keeping sunlight out and letting in some natural light.
The curtains are made of heavy material that does a good job at filtering harsh sun rays, which is ideal if you have sensitive plants nearby or need to sleep during daylight hours.
How to care for light filtering curtains?
Light filtering curtains are made from a variety of materials. It’s important to note the material and how you should care for it if you want your light filtering curtains to last as long as possible. For example, cotton is an excellent choice because it can withstand moisture and sunlight better than other types of fabrics.
If you have a heavy fabric, you need to be careful when washing it as the material might shrink. A good rule of thumb is not to wash your curtains more than once a season and only use a delicate cycle if possible. It’s also important to avoid high heat settings on your dryer, which can cause shrinking from excessive heat or wrinkles.
Can I iron my light filtering curtains?
No. If you have light filtering curtains that are made from cotton, linen, or other natural fibers, it’s not recommended to iron your fabric because the heat can cause shrinkage and wrinkles. You should also avoid using high heat settings on a dryer as this could cause shrinking of fabrics like cotton or linen caused by excessive heat and wrinkles.
How to dye light filtering curtains
Step #1. To dye your curtains, start by washing them first to remove any residue. Then mix the dye with a small amount of water and pour it into an empty bucket or container that can hold at least twice as much liquid as there is fabric in the load you are dying. Place the curtain over the top of this container so that it drapes naturally into the bucket.
Step #2. Mixing your dye in a container instead of directly on the fabric helps avoid any unwanted bleeds. It provides for even more coverage as you won’t have areas that will only be half dyed because they were folded over or bunched up at one end when placed into the liquid.
Step #3. Wrap your fabric in plastic wrap, then tie it with rubber bands or string so that the folds are evenly spaced. You can also use old pantyhose to cover the top of the container and keep out any unwanted hair or dust particles while you’re dying.
Step #4. When using a bucket for dying, remember to allow plenty of space around the outside of the fabric for it to move freely as you stir.
Step #5. If your dye is lighter than what you want, remove some liquid from the bucket with a measuring cup and place it in another container – add food coloring or vinegar if desired to change colors. Mix until dissolved before returning to the bucket; this will dilute your color without changing its shade.
Step #6. If your dye is darker than what you want, add more liquid to the bucket and stir until dissolved before returning it to the container; this will dilute color without changing its intensity or creating a lighter tone.
