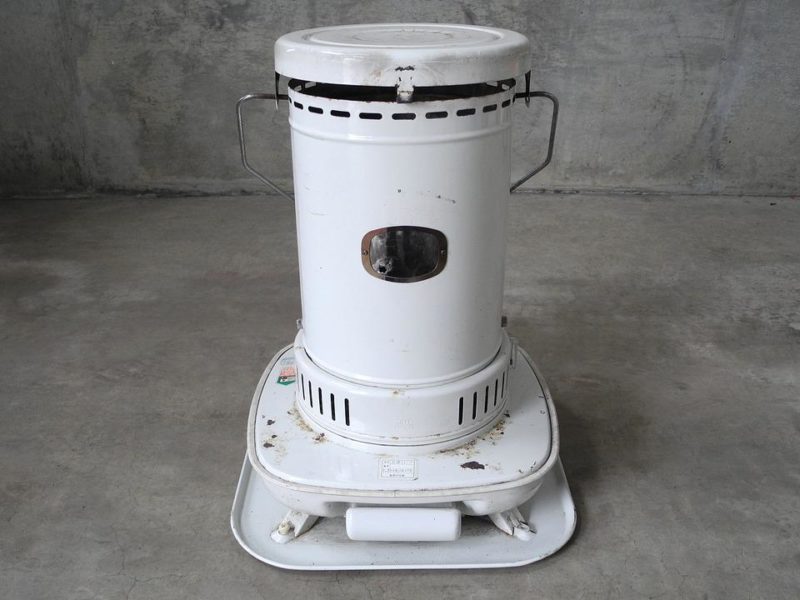
Do you want to learn how to change a wick in a square kerosene heater? Read this article and discover the easy steps that can guide you in changing the wick. Remove your old wick and replace it with a new one! You don’t need to be confused about where to start or how to do it right.
Kerosene wicks go through a year without a failure. But, sometimes due to the fuel’s substance, it shortens and requires to be replaced.
If you do not know how to determine if your wick is needed to be replaced, some clues can help you, like your heater releases black smoke and has a low flame, or it goes off after lighting it even if the tank is enough. Then, you need to replace the wick.
Steps To Change A Wick In A Square Kerosene Heater
Maybe you are confused about what is a square heater; it is an indoor heater similar to other heaters. The round heater heats in a circular direction. But this one has a square-shaped heater that enables users to target a specific location, unlike the round kerosene heater. Taking off the wick and replacing it correctly is important as well as making sure that you properly attached it.
Other than that, incorrect input or replacement on the heater may cause the heater not to light up properly. Aside from this, you must choose the right size for your heater before purchasing a new wick for your heater. Learn how to change a wick in a square kerosene heater properly.
Step #1. Empty the fuel tank
The first thing you have to do before changing your wick is to use the remaining fuel in your wick and the tank. This will depend on how much remaining fuel you have in the heater. So, if you are planning to replace the heater, you should not fill it and tell other members of the house to keep it that way. Then, wait for the light in your heater to go off on its own. On the other hand, if you are in a rush, and the tank is empty, but the light in the wick still goes, it’s okay. Allow your heater to cool for a few minutes.
Step #2. Access the burner assembly
When your heater has cooled down, you can now go to the next step-removing, burner assembly. Remove the tank cover along with the battery (if your heater has it) and the tank cartridge. Then, open the grill and the chimney. Loosen all the screws in the cabinet and lift it. As the burner assembly remains, remove the screws in the wind cover and automatic igniter and pull it out. As there are various brands of heaters, this step might be different; check your manual on how the parts are built but commonly, it goes that way.
Step #3. Removing the wick
As you already removed some parts in the burner assembly, now you can proceed with removing the wick. Unscrew the four wing nuts around the wick adjuster, then carefully lift it. After removing the adjuster, you can now remove the wick. Fold the wick to the center to loosen it from the sharp teeth located at the inner and slide it out. It would help if you were careful with the sharp metal teeth as you might hurt yourself with them. Put the old wick into a cloth or plastic to prevent the remaining fuel from spreading on the surface.
Step #4. Placing new wick
Now, it’s time for you to put the new wick on your heater. Wick heaters have a black line to guide you in placing them in the holder. Fold them and insert them into the holder. You must align the black line from your wick to the top edge of the holder, then press the wick on each sharp metal tooth. Make sure the wick is attached to the teeth to avoid it from falling off while using the heater. There are several sizes of wicks in stores, and to help you avoid buying the wrong one, check your manuals for the right side of the wick your heater needs.
Step #5. Setting up
You are almost done! After replacing the wick, you also have to replace the burner tank holder. Attach the holder and turn it to 90 degrees to the left side, to the right, and up and down until you notice that the wick replacement slides. Aside from that, check the gasket to see if it’s aligned to the burner tank. If it doesn’t, align it to the burner.
Put the adjuster knob back and slide it into the draft tube. Turn the adjuster shaft to the front side of the heater and screw all the wing nuts you removed recently. Check the wick if it’s in the correct position, and check the clearance of the wick holder and draft tube. Reinstall the automatic igniter and the wind cover. Get the heater’s cabinet, then place it to the assembly tightly. Reassemble the cartridge tank, wick adjusting knob, and the batteries. You may also be interested to know about kerosene heater safety.
It’s A Wrap!
Finally! You have learned how to change a wick in a square kerosene heater and be able to replace the wick on your own. Replacing it will be easier for you and quicker to do. Hope that this article answered your question about the wick replacement as well as gave you sufficient information. You may also want to read about how much is a kerosene heater and where can i buy a kerosene heater.

