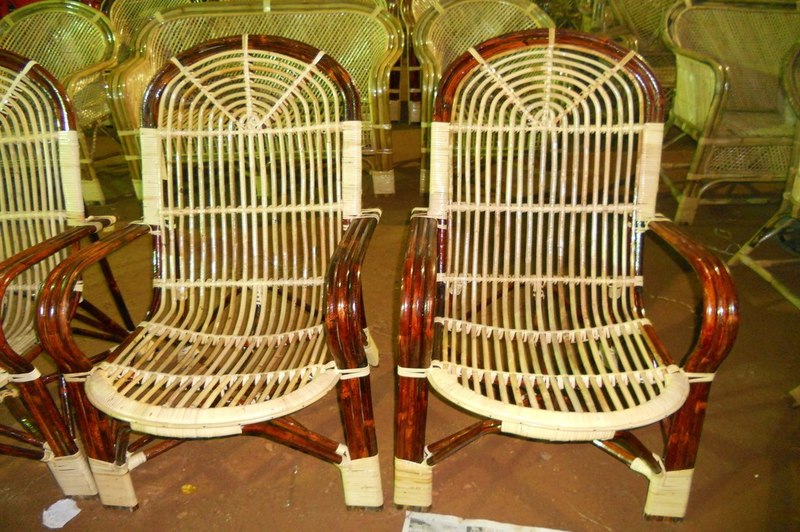
In this article, you can take some time off and learn how to cane a chair. You have possibly noticed an old-fashioned chair by the corner of your mom’s home that needs a repair. Restoring it can provide a lot of benefits for your home life that you might not be aware of.
First, let us get to know what caning is. To specify, caning is a craft wherein a cane is weaved to furniture such as chairs. This method adds a unique design and feel to the chair while improving comfort at the same time.

With that being said, let us take a look at some easy steps you can take to cane your old chair. It will only take 8 basic steps for you to do this.
Prepare Your Materials
Here are some of the materials you will need for your caning project.
- Cane strands
- Work table
- Measuring tape
- Scissors
- Caning pegs
- Tack hammer
- Hide glue or water-soluble glue
- Water bucket
- Hand towel
A Quick Prep
Before starting the caning project, make sure all the materials and tools are ready and appropriate for the project. You may also need to have a comfortable stool or chair so you don’t get tired easily. Save your feet and spine.
If you would prefer to be standing while doing the project, make sure the height of the table is just right for your reach.
Once you start, have breaks in between. Stretch, walk and relax a bit to save you from back pain.
Easy Guide On Caning A Chair
Step #1. Soak the strands
Soak the cane strands for about 20 minutes. Make sure it doesn’t go beyond that time to avoid discoloration. Replace soaked strands with new ones to keep the material ready.
Step #2. Work on the first vertical strand
Determine the center hole in the back and front sides of the chair and place caning pegs for marking.
Take the longest soaked cane strand and look for any breaks. Remove blemishes especially those that are at the ends of the strand. This is important because you are setting the foundation.
Put the end of the strand in the back center hole of the chair, making sure that there is about two inches underneath. Place a peg into the hole to keep the cane strand in place. Don’t forget to position the glossy part of the strand upward because that is the right side.
Take the other end of the long strand and insert it to the front center hole and peg it. Then, take the long strand underneath and insert it through the hole to its right.
Coming from beneath, take the strand’s end and bring it over to the back side of the chair, to the next hole at the right side of the pegged hole. Again, making sure that the right side of the strand is facing upward.
Continue weaving the long strand from back to front all the way across the right side of the chair. Do the same steps with the left side holes of the chair.
Secure the ends of the strands and pull it enough not to sag, but it also shouldn’t be too tight. Note that weaved strands are still wet and it will shrink once dried, which means it will eventually tighten.
Leave the holes out in the corners.
Step #3. Work on the first horizontal strand
Do the same thing, but this time on horizontals. Start weaving from side to side. Weave on top of the verticals.
Add new strands and keep it parallel. Leave the corner holes.
Step #4. Layering the verticals
Repeat Step 2, and this time, lay it over the horizontal strands and a little right of the first vertical strands.
Step #5. Layering the horizontals
Repeat Step 3, but this time, real weaving is done. Weave alternately horizontally, then weave through under-over the doubled vertical rows.
Start on either side, whichever is easier to you. Continue all across the chair.
Step #6. Work on the first diagonal strand
Remember the corner holes that are left empty? This is where you start the diagonal strand.
Again, begin by inserting a strand from underneath the chair and going up through the hole. Leave about two inches of the end strand underneath. Do this at the right corners of the chair.
Weave over the vertical strands and under the horizontal strands. Repeat the procedure until the chair is all covered up.
Step #7. Work on the second diagonals
To complete the cane weaving, do the opposite diagonal side of the left corners of the chair. Repeat Step #6, but this time, weave over the horizontal strands and under the verticals.
Step #8. Secure the edges
Secure the edges by sewing the binder cords. Loop over the borders from down into the front side of the hole.
Pick up the loose ends underneath as you loop around the binder cord. Tie any loose ends and apply glue into the knot to hold.
Conclusion
You can restore old furniture now that you’ve learned how to cane a chair. Next time you see a chair that needs refixing, you can consider caning it for additional style and uniqueness.
