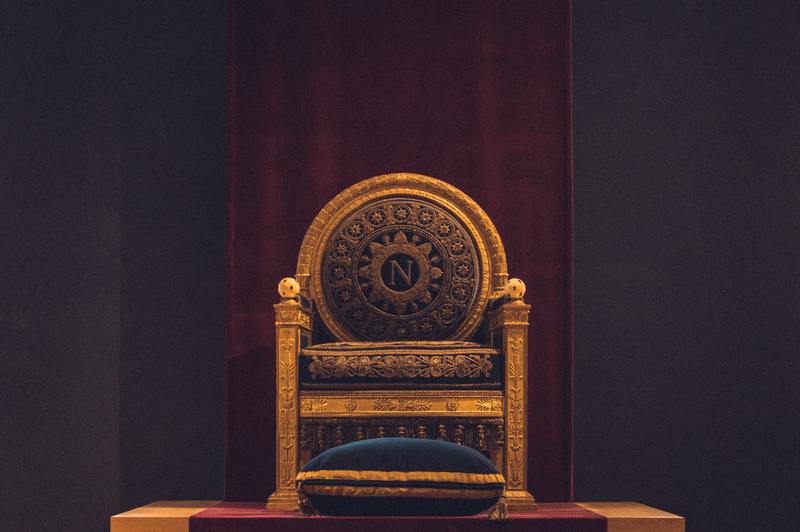
Check out these six easy steps on how to build a throne chair out of wood! A throne chair should always be there, whether it’s for a royal-themed celebration or a Vikings bonfire.
Fire throne chairs aren’t the most comfortable chair in which to lounge, slouch, or slump, but rather a “sit up straight” chair in which to sit proudly and survey your domain. These kinds of chairs are perfect for a garden ornament or a furniture prop.

Building A Fire Throne Chair
We start with a little about wood and wood sizes, some planning, the cutting list, and the step-by-step directions along the way.
Step #1. Wood measurement
Planning and measurement accuracy plays a big part in building your very own fire throne chair. We’re going to need a 2×12 pine, nails, screws, and patience for this project. Check out the wood measurement guide below:
- Piece #1: Width A – 11’’, Width B – 21 ½’’, Length – 5 3/8’’
- Piece #2: Width A – 22’’, Width B – 19’’, Length – 5 3/8’’
- Piece #3: Width – 30’’, Length – 5 3/8’’
- Angle: 10 degrees
Step #2. Mark the pieces
Grab your pencil and markers because for this step we are going to do the line guides. Mark your wood pieces with the help of the measurement guide before cutting them to avoid mistakes.
This will prevent you from starting over again or failing to assemble the pieces of wood for your throne chair. Visualizing your project is indeed a must.
The seat, legs, and back support are now all at an angle. It’s either 25 degrees or 15 degrees. You can rotate your cutting point with a square till the edge of the board is aligned with your desired degree to mark those parts.
This is extremely simple, but you must be cautious to be as precise as possible so that the pieces fit together at the end. You can draw the plan to see how the chair will look.
Optional: You can make a mini representation of the throne chair using the scrap or excess wood to test how you’ll be able to put it all together.
Step #3. Make your cuts
Getting on with the next step is quite tricky but it won’t require you to do a lot of effort. Before proceeding with the cutting of wood, we recommend you support the board with a few leftover pieces of foam insulation after laying it into a flat workspace.
It’s also better to keep a couple of pieces under your workbench. Then, begin cutting.
Since we did some markings on the wood, it will be easy to cut. Make sure to be precise with the cut so you don’t have to keep trimming and repeating later.
Step #4. Assemble and screw
You can begin building the throne chair’s frame by assembling the pieces in the proper order. Using a clamp, put the two side frames to the front and back rails of the seat.
Make sure the two back legs are parallel to each other. Cut the back-top unit to fit into the rebates in the back legs. Remember that the two horizontal back pieces were cut across length until they could be measured precisely. Drill, glue, and screw together the frame.
Step #5. Back support
This step will focus on the remaining pieces for the back support of the chair. Go on with the measuring for the back support and then proceed with the marking guides (length, width, and height).
This might get trickier so make sure to cut accurately. Afterward, screw it in place.
Next, marked the side pieces and double-check if they are all in the same size so that the seat would be at a sitting level. Secure the back support with a pair of screws from the outside.
Step #6. Finishing
You can paint your fire throne chair in any color you want for the finish. Though we recommend simply applying water sealant, this will not only be functional but will also give this pine a gorgeous reddish color that resembles cedar.
How much will it cost me to build my fire throne chair?
The 2×12 pine, which cost around $20, and the estimated $15 for screws and water sealant were the sole costs for this project.
Is it a good idea to just build your throne chair rather than purchase one instead?
Aside from acquiring your abilities and having time for productive work, building your throne chair is far more practical than purchasing one. Not to mention that throne chairs cost over $350, but making your own costs only $35, which is a great deal.
Conclusion
Everyone has certainly fantasized about a Viking bonfire or perhaps imagined themselves as royalty. Delight yourself as you take a step closer to making it a reality by building your throne chair.
Making it a celebration prop or even a decoration in any section of your house would be fantastic with these simple procedures. Hopefully, this article gave you enough knowledge on how to build a throne chair out of wood.
