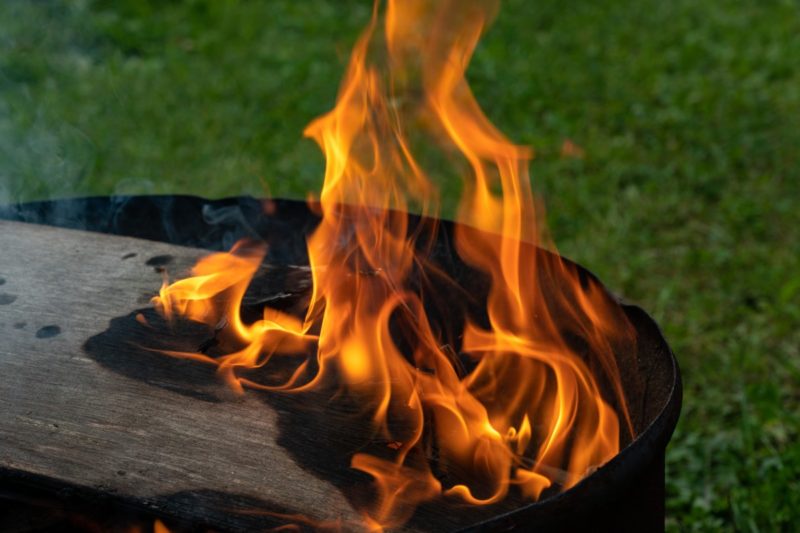
Do you want to know how to build a smudge pot heater? Follow these quick steps and make your won smudge pot. In the region that has a colder or winter season, people get uncomfortable due to the freezing temperature, especially those who are living in the mountains, as it is colder than the lower areas.
As the temperature decreases, it gets colder, and people living in the area may not be able to go out and do their chores. That’s why portable heaters were made but sad to say, these types of heaters have a small tank which cannot take higher than one gallon.
Due to this, its heating hours are lesser and range in a small area and jumps into a heater that can last longer and is fuel or gas-powered. Are you ready to learn more about a smudge hot heater? Please, continue reading.
How Does A Smudge Pot Heater Work?
A smudge pot heater is also called the demon heater, as this heater can provide a higher temperature in larger areas. Some use this heater to prevent trees or plants from freezing during the winter, especially the farms and mountainsides. The smoke covers the This heater can also hole up to 8 gallons of fuel which explains why it last longer and is an inexpensive way of heating outdoors, with the fact that some smudge heater users use the used motor oils!
The smudge heater works in a very efficient and sufficient way. As the fuel burns, it evaporates the fumes and goes through the stacks, and burns the air coming inside through the slots, glows hard, and keeps the surrounding from freezing. On farms, they use a lot of smudge heaters to protect their plants or flowers from staying warm, especially at night. Let’s continue on the steps on how to build a smudge pot heater!
Steps To Build A Smudge Heater
Honestly, purchasing a smudge pot heater has an average cost of $200 to $300, and that’s quite expensive, especially if you have a small farm and it needs to be heated. To save money, you can build your smudge pot heater at home. If you think it’s impossible, you can go on to the steps and see how this works, and if you decide you can go through it, well, it’s good for you. Are you ready to build your smudge pot heater? Let’s start!
If you need a smudge heater for your outdoor activities, you can try using a paint can or an old propane tank. So, first, determine how you will use the smudge heater. Will you use it for small or more significant areas? A small Do-It-Yourself (DIY) heater will do if you need to heat a small space. Suppose you only need to heat a small space outside the house or on your patio. Then, a 1-gallon paint can do. Let’s make a small smudge heater first. You may also be interested to know about solving smudge pot problems.
Step #1. Remove the paints and make holes
Look for an empty paint can in your home and try to get the old paint inside the can. After removing the pain inside, remove the gallon cover or paint. You can remove the paint from the can by burning them out. Most people recommend a paint can as it already has a handle that will allow you to move your heater in different places. After removing the paint, you need to make holes in the lower part of the can.
You can use a driller on it and makeup to 15 to 18 holes. The holes will allow air to go through the can. Lie the can on the surface and start drilling. Be careful in drilling the can as it can slip through and cause you physical injuries. Push the driller gently until it reaches the other side of the can. Make sure you wear goggles to protect your eyes.
Step #2. Start a fire
After drilling holes, you can now start the fire in your small smudge heater. It’ll be quicker and easier to start a fire if you use paper first and twigs. To start, insert the paper into the can and lay it sideways. This position will help you light the can quickly. Then, light it with a match or a long lighter. If your paper is burning, flip your can in its upright position.
When the paper is burning, add small twigs, and if you think the twigs have a coal fire, you can now put the think woods to the can. On the other hand, if you need a larger one and heat further away, you can use large metal cans and do the same procedure. It also requires you to make bigger and lots of holes.
Note that, if you are using firewood in the pot heater, make sure that it is far from combustible materials, has a spillage tray, and is placed on a flat surface. Please do not be complacent in using this, especially if you have kids around the house. This heater may tip-off and cause a fire.
It’s A Wrap!
Now that you have successfully discovered how to build a smudge pot heater at home by applying these easy steps! Say goodbye to the cold at night and do your chores without worrying about the freezing temperature. Hope this article helped you make your smudge heater and understand how it works. You may also want to read about what kind of heater do i have and what is the best type of heater for a room.

