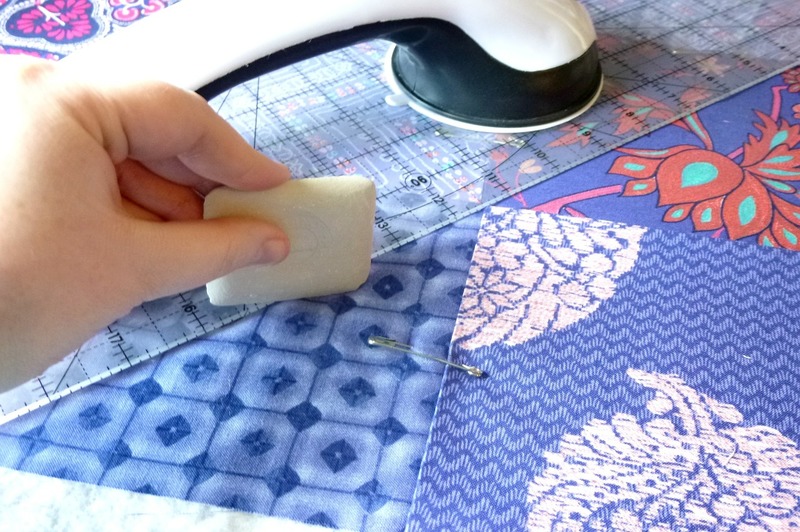
Learning how to attach blanket binding to a quilt can be a chore. Even so, if you are a sewing enthusiast and are interested in binding your quilt, it is possible in just seven steps.
Adding a matching blanket binding can accentuate your quilt and make it super chic and fabulous! It is also sure that your friends and family will be amazed that you can do such an exciting craft.

Steps In Attaching Blanket Binding To A Quilt
Before you start binding, you should first prepare the materials you will use.
- First, you have to get your quilt ready. You should also have your blanket binding, which should measure 10 inches more than the sum of the lengths of the four sides of your quilt (note that the color should be coordinated).
- Binder clips or straight pins
- Fabric scissors, cutting mat, or rotary cutter
- Quilter’s ruler
- Needle for hand sewing
- A sewing machine that can do zigzag stitches
- Needles for the sewing machine that can handle thick materials
Now that all the things we need are ready, we can now start sewing.
Step #1. Fold the ends of your blanket binding meeting on another. You can notice that one edge is 1/4 inch shorter than the other. This should be on the right side of the quilt and should be facing up when you sew.
Now starting from the right, sandwich your quilt’s edges in the blanket binding. Use binder clips to hold things together — you wouldn’t want everything to get messed up as you sew. Stop a few inches from the corner.
Step #2. Set your sewing machine to a wide zigzag stitch mode. You can try stitching a scrap of fabric first to see if the size of the stitch is enough.
Step #3. Start stitching at the beginning of your binding, allowing the zigzag stitches to run on the edge of your binding. Be careful with operating the sewing machine as it may harm not only your craft but also your fingers — that hurts!
When you reach a few inches before the corner, stop sewing. We are about to do something else with the corners.
Step #4. Grab the unstitched blanket binding and create a mitered fold. Do this by folding it back over the next side you will sew. To know if you did it right, the other side should also have the same fold but facing the opposite direction.
By doing this, you can keep your material under the machine and work while you are on it. However, for easier folding, you can first do a backstitch and take it off the machine.
Step #5. With a binder clip or a straight pin, secure the fold you did on the last step and proceed with sewing. Run stitches on the fold allowing the edges to stick together.
Step #6. Carry on with the stitching until you finish all the edges. In case you run out of binding, you can add another one by laying it a little less an inch over the previous one.
Secure the new binding with the old one using a pin or a binder clip and continue sewing.
Step #7. Do the same with all the edges and corners until you are done. You can add a few slip stitches where you attach a new binding to secure — you know you can never be too sure in stitching.
Now that you have accomplished all the stitching and folding, your quilt’s edges are now bound!
Why bind a quilt?
Do you want your quilt to last longer? Then bind it! Binding makes your quilt sturdier to be used by you and even by your children.
Given that quilts are made up of two to three layers of fabric, there is a tendency of losing their layers, so binding the edges together is something you can do to prevent it. Blanket binding also adds a pop of color to your quilt. It makes your quilt stylish, giving off a less boring vibe than regular quilts.
How to properly care for a quilt?
Our gorgeous quilts should be kept in good condition. To do this, here are some tips.
- Direct sunlight is not good for quilts. As much as possible, store them in a cool, dry place to prevent their material from fading.
- Avoid frequent washing and use a gentle detergent. Though washing quilts is okay, it is better to vacuum them. It is also best to do air drying than throwing them into a dryer.
- Check stored quilts regularly for infestations. Quilts stored in basements and attics are likely to be inhabited by rodents and insects, so it is essential to visit them often.
These tips will give you a good foundation in keeping your precious quilts in a condition that will last them a long time.
Conclusion
Quilts are indeed one of the treasures of our home. They are beautiful as they are, but mastering how to attach blanket binding to a quilt is another thing. A little improvement surely won’t hurt.
