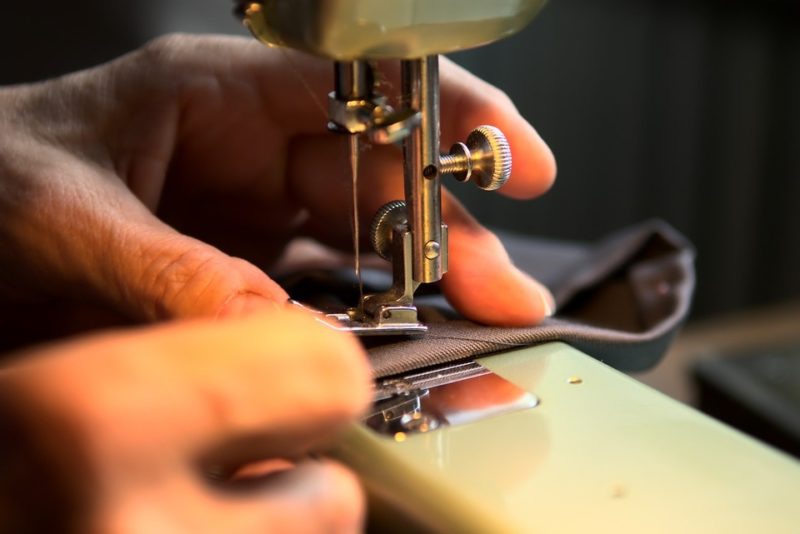
Those who want to know how to adjust stitch length on old Singer sewing machine can consider two steps only. First, we based this tutorial on a Singer manual, so you can feel assured with its legibility. Second, we’ll also talk about everything regarding selecting stitch length for your projects.
But besides setting your old Singer sewing machine, do you also know how to maintain it? Then consider reading our tutorial on how to polish a vintage Singer sewing machine as well.

How To Adjust Stitch Length On Old Singer Sewing Machine Correctly
This tutorial is for the Singer M3220 model. If you own another unit, search for the correct Singer manual and follow its instructions diligently. This stitch length adjustment is also applicable for sewing a straight stitch, so be sure to check what type of stitch you’re using for the project.
Step 1. Set the stitch length via the dial
- For topstitching and sewing seams, set the Singer sewing machine’s stitch selector dial to straight stitch
- The dot should be aligned with the straight stitch symbol
- Find the stitch length dial to get your desired stitch length for the project
- The setting for the stitch length of the straight stitch is usually 2, so align it with the dot
Step 2. Start sewing
- Raise the presser foot and place the fabric underneath it
- Align the right-hand edge of the material with the seam guide line you want on the same side of the needle plate
- Lower the presser foot and press on the pedal to start stitching
- Sew around three stitches to start the seam and then press the reverse lever to backstitch three stitches to lock the seam end
- Sew forward to finish the entire seam length and reverse stitch again
How Do You Change The Stitch Length On A Singer Sewing Machine?
Refer to the specific Singer sewing machine manual you have and determine where its stitch length dial is. Move the dial to the number suitable for the stitch, material, or project you’re doing. Here are some of the most common lengths to remember when working on a Singer sewing machine:
- Setting the stitch length to 2 is the standard stitch length for most projects
- Use something shorter for fine thread and needles or light materials
- Use a longer stitch length for heavy fabrics
- Set the stitch length between 0.5 and 3 when making decorative stitches
- For sewing buttonholes, adjust the dial to have the buttonhole symbol below the dot
- Set the stitch length dial to 0 to start sewing a button
What Controls The Length Of The Stitches On A Sewing Machine?
Sewing machines have a stitch length knob or button, depending on the model you have. Mechanical sewing machines have a dial with the word “length” or numbers indicating different stitch lengths. On the other hand, computerized and more modern models have most of their controls on the touchscreen, so find the tab indicated in the manual for increasing or decreasing stitch length.
How does the sewing machine control stitch length?
The sewing machine follows your setting for the stitch length because it adjusts its feed dogs. Therefore, the machine can pull the fabric according to the length you selected. You can find a stitch length of 4 to 60 to older sewing machines indicating the number of stitches per inch, while modern machines have a length range of 0 to 7, indicating one stitch per millimeter.
You can also read about how a sewing machine works to understand its mechanism better.
Where is the stitch length knob on a sewing machine?
The stitch length knob of the sewing machine is usually at the front. But for machines that are touchscreen, you should find a tab for this adjustment. Those doing free motion quilting can move their hand to dictate the stitch length as the feed dogs drop with the length set to zero.
How Do You Set A Stitch Length?
You set the stitch length on the sewing machine by moving the dial on a mechanical machine or pressing the tab on a computerized machine. The stitch length depends on the type of stitch you’re doing, as well as the material, thread, or needle. For example, topstitching and basting are best with long stitches, while sheer and lightweight materials require short stitches compared to tough materials like leather and thick threads.
What Is The Best Stitch Length For Sewing A Straight Stitch?
The best stitch length for a straight stitch is between 3 to 3.5 mm. For standard sewing, you can also use 2.5 to 3 mm. Then if you’re considering the fabric, heavy ones are best with 3.5 to 4 mm stitches, and lighter ones should use 3 to 3.5 mm stitches.
It’s always best to test your stitches on scrap fabric first, then adjust accordingly.
Conclusion
And that’s it! To recap how to adjust stitch length on old Singer sewing machine, you’ll simply turn the dial to the number you want. For more modern units with touchscreen, you will press the tab to increase or decrease the length.
Please remember to consider the stitch type, material, and project to know the ideal stitch length. We hope this was a helpful read; leave us a comment if you have any questions.

I have a old singer hand machine how do i adjust stitch length there is no lever is it the round knob underthe handle please help