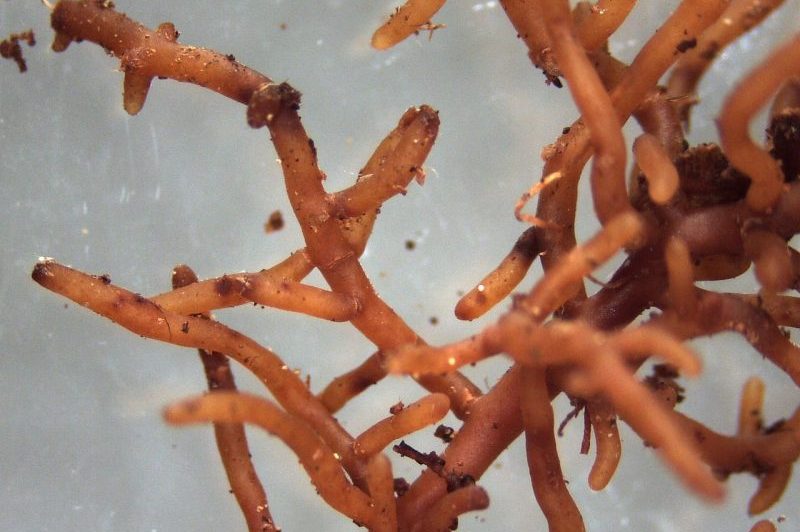
You can learn how to add mycorrhizae to soil by considering three factors, and this article will discuss them more in-depth later on. Remember that as a gardener, you must always strive to discover different techniques to improve your crops and plants’ environment. Understanding how to add mycorrhizae to soil will let you reap many benefits in the garden and greenhouse.
What do mycorrhizal fungi do for your plants? For starters, the relationship between the two organisms promotes better uptake of minerals and water of the plants. However, you must know the method, timing, and considerations when adding mycorrhizae. You may also need to find the mycorrhizae species that will thrive best in your location.

How To Add Mycorrhizae To Soil Correctly
Method
The first factor that you have to master when adding mycorrhizae to the soil is the method itself. The process is relatively straightforward, and you don’t need any tools or equipment to do so. The primary concept that you have to remember in learning how to add mycorrhizae to soil is to have contact between the roots and the fungi.
Choose the formulation
The mycorrhizal inoculant can come in different formulations, which are granules and powder. Therefore, you can apply them to various ways to suit your growing practice in the garden or greenhouse. You can also add mycorrhizae to the soil at different stages of growing a plant.
Choose the growing stage
For example, you can add the formulation to the seedbed or potting soil when sowing seeds. You can also rub it directly on the root ball during planting or transplanting. Otherwise, you can just throw some into the planting hole.
Choose the growing practice
Another method to add mycorrhizae to the soil is using an irrigation system, root dip, or porous media. Sodding can also be an excellent way to add mycorrhizae mixed with water before or after laying the sod. The same mixture will also work if the plants are already planted or inject the formulation into the established plant’s root zone.
Timing
The second factor when adding mycorrhizae to the soil is the timing of the application. As previously discussed, you can add mycorrhizae at different growing stages using the right application method. The good news of not having a specific timing is that you can use the products regardless of your plant’s current life cycle.
However, the most beneficial time to treat the plants, or the soil, is during the earliest part of the plant’s growth. You can think of these periods as the sowing stage or when you are starting plants from transplants or propagation. In addition to starting plants in the greenhouse, these timings also present the perfect opportunity to reap mycorrhizae’s benefits.
Frequency
Another advantage in treating the soil with mycorrhizae early on the plant’s growth stage is that you will not need as many products as you would in the later stages. This is because the soil you’ll use is fewer as well. More so, remember that some plants like annuals can do well with one application only.
Nonetheless, it’s best to do your research to create the optimal reapplication interval for your garden or greenhouse. Reapplications might be necessary for some plants, especially those with longer life cycles. This will also be true if the plant requires replanting at some point.
Remember that these fungi are not free-living, meaning the plant’s death will also indicate their death. The symbiotic relationship between the plant and the fungi will remain throughout the former’s life cycle, dictating the reapplication.
Considerations
Rates
Now that you have the method and timing understood, it’s worth emphasizing the importance of additional considerations in mycorrhizal applications. For example, you should know how much mycorrhizae to use on your plants. Much like with any other product you use in the garden, be diligent in checking the label rates and ensure that you follow them.
Some gardeners’ common misconception is that applying over the recommended rate will also mean a higher impact. However, this will just be a wasteful venture as the plant will only use what it needs. You’re likely to benefit the best if you follow the recommendations.
Environmental and site conditions
When using mycorrhizae, high temperatures, around 140°F, can kill the fungi. More so, you might use fungicides in your growing practice, so be mindful of the products that won’t damage mycorrhizae.
More so, you want to be careful of phosphorus. Unlike certain fungicides or high temperatures, phosphorus itself won’t kill mycorrhizae. However, having a high level of phosphorus will slow down the relationship between the plant and the fungi.
Conclusion
Did you know that you can take advantage of the symbiotic relationship between fungi and plants easily? The process of learning how to add mycorrhizae to soil is relatively simple as long as you keep the three factors in mind. First, understand the method and choose the proper application technique for your regimen.
Second, find the ideal timing of adding mycorrhizae during the early stages of a plant’s growth. And lastly, the rates and environmental and site conditions can affect the performance or even kill the fungi itself. Overall, understanding these three factors should help you learn how to add mycorrhizae to soil successfully.
